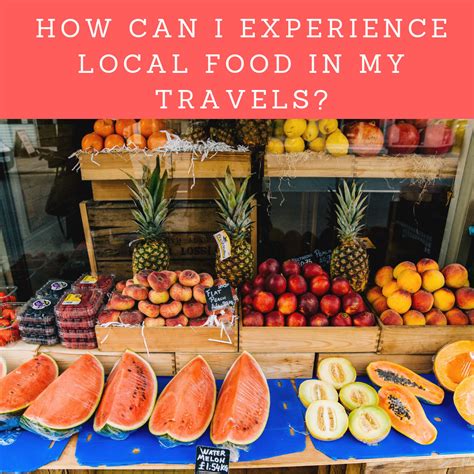
How do real foodies get authentic, vibrant shots in dim restaurants for their feeds?

Mastering the Art of Dim Restaurant Food Photography
The allure of a dimly lit restaurant – the intimate ambiance, the soft glow, the hushed conversations – often presents a formidable challenge for the aspiring food photographer. You’ve ordered a culinary masterpiece, eager to share its beauty with your followers, but the low light threatens to render your shot a blurry, unappetizing mess. Fear not, for capturing authentic, vibrant food photos in challenging lighting is an art form perfected by seasoned foodies, and it’s a skill you can absolutely develop.
Harnessing the Scanty Light: Your First Best Friend
Forget the flash – it’s often harsh and unflattering. The true secret lies in understanding and maximizing the existing ambient light. Scan your surroundings: Is there a window nearby? A strategically placed overhead lamp? Even a candle can provide a soft, warm glow if used correctly. Position your dish so that the light source hits it from the side or slightly behind. This creates beautiful shadows and highlights, adding depth and dimension rather than a flat, front-lit look.
- Find Your Sweet Spot: Don’t be afraid to subtly move your dish or even yourself to optimize the lighting. A slight shift can make a world of difference.
- Utilize Natural Light: If available, window light is always preferable. Even a distant streetlamp can offer a surprising amount of usable illumination.
- Avoid Direct Overhead Light: This can create harsh shadows and make food look unappetizing. Aim for more diffused, side lighting.
Smart Tools & Subtle Aids for the Discreet Foodie
While professional gear isn’t always practical or discreet in a restaurant setting, a few smart tools can significantly elevate your shots without disrupting the dining experience. Your smartphone, often equipped with impressive low-light capabilities, is your primary weapon. Many modern phones have ‘Night Mode’ or similar features that leverage computational photography to brighten and sharpen images in low light.
For those looking for an extra edge, consider a small, portable LED light panel. These are compact, rechargeable, and can emit a soft, adjustable light. The key is to use them subtly, bouncing the light off a white napkin or menu to create a softer, more diffused effect, rather than pointing them directly at the food. A small, collapsible reflector can also work wonders to bounce available light back onto your dish, filling in shadows.

Techniques for a Sharp & Engaging Capture
Even with good light, technique is paramount. In low-light conditions, your camera needs more time to gather light, making it prone to blur from camera shake. Stability is crucial. Brace your elbows on the table, hold your phone with both hands, or even lean against a wall. If discreetly possible, a small tabletop tripod can offer maximum stability.
- Tap to Focus: Always tap on your dish (specifically, the most appealing part) on your phone screen to ensure it’s in sharp focus. This also often helps your phone adjust exposure for that area.
- Manual Controls (if available): If your phone camera app or dedicated camera allows, manually adjust ISO (keep it as low as possible to avoid noise), aperture (wide open for blurrier backgrounds), and shutter speed (slower, but requires more stability).
- Shoot Multiple Shots: Take several photos from slightly different angles and exposures. You’re more likely to get one perfect shot out of a batch.
The Magic of Post-Processing: Bringing Photos to Life
Rarely does a low-light photo look perfect straight out of the camera. This is where post-processing becomes your secret weapon. Apps like Adobe Lightroom Mobile, Snapseed, or even your phone’s built-in editor can work wonders. Focus on these key adjustments:
- Exposure & Highlights/Shadows: Gently increase exposure, and recover details in shadows while taming overly bright highlights.
- White Balance & Color Temperature: Low-light scenes often have a color cast (e.g., yellowish from incandescent bulbs). Adjust the white balance to make whites appear true white, giving your food more accurate and appetizing colors.
- Clarity & Sharpness: A slight bump in clarity and sharpness can make your dish pop without looking artificial. Be subtle to avoid over-processing.
- Saturation & Vibrance: Use these sparingly to enhance the natural colors of your food. Over-saturation can make food look fake.
The Final Ingredient: Respect and Practice
Remember to be mindful of your fellow diners and the restaurant’s ambiance. Food photography should enhance, not detract from, the dining experience. With a bit of practice, understanding of light, and smart use of tools, you’ll soon be capturing the authentic vibrancy of your culinary adventures, even in the most challenging of dimly lit settings. So next time you’re in a mood-lit eatery, embrace the challenge and let your inner foodie photographer shine!