Smart storage: How to keep leafy greens crisp & vibrant for foodie flatlays?
The Visual Appeal of Crisp Greens
For any aspiring food photographer or home chef creating mouth-watering flatlays, the visual appeal of ingredients is paramount. Nothing detracts from a beautiful dish faster than wilted, dull leafy greens. Whether it’s a vibrant salad, a hearty stir-fry, or a fresh garnish, maintaining the crispness and rich color of your greens is key to achieving that professional, appetizing look. This guide dives into smart storage techniques that go beyond basic refrigeration, ensuring your greens are always camera-ready.

The Enemy of Freshness: Moisture Imbalance & Air
The primary culprits behind sad, droopy greens are often excess moisture, insufficient moisture, or exposure to too much air. Excess moisture can lead to rot and sliminess, while too little moisture causes wilting and loss of vibrancy. Understanding this delicate balance is the first step towards preserving their pristine condition. Avoid storing greens still wet from washing, and never store them in tightly sealed plastic bags without proper ventilation, as this traps ethylene gas which can accelerate spoilage.
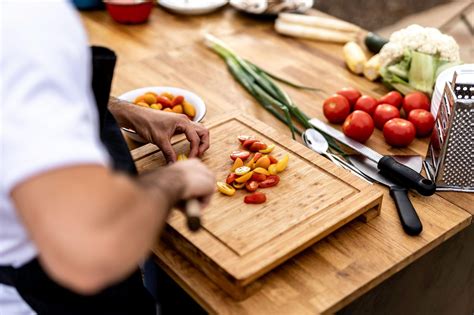
Pre-Storage Prep: Wash & Dry Like a Pro
Proper preparation before storage makes all the difference. Always wash your leafy greens thoroughly under cool running water to remove any dirt or debris. Once clean, the crucial step is drying. Residual water is the nemesis of crispness during storage. Use a salad spinner to remove as much water as possible, then gently pat them dry with a clean kitchen towel or paper towels. They should be dry to the touch, but not brittle.
Smart Storage Methods for Optimal Crispness
1. The Paper Towel Roll-Up Method
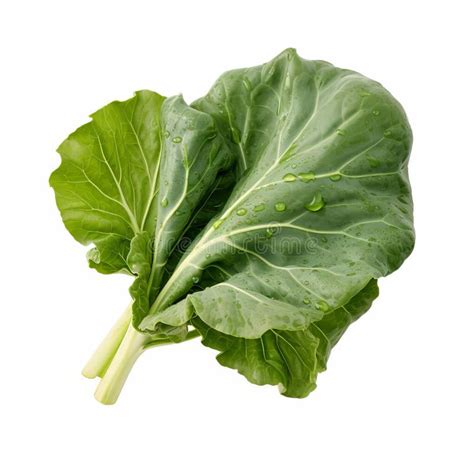
This is one of the most popular and effective methods for many types of greens, including lettuce, spinach, kale, and collard greens. After thoroughly drying your greens, lay out a few sheets of paper towel. Spread a single layer of greens over the paper towel, then roll them up gently. The paper towel absorbs any lingering moisture, while also providing a breathable barrier. Place the rolled greens inside a large zip-top bag, leaving it slightly open, or in an airtight container without fully sealing the lid.
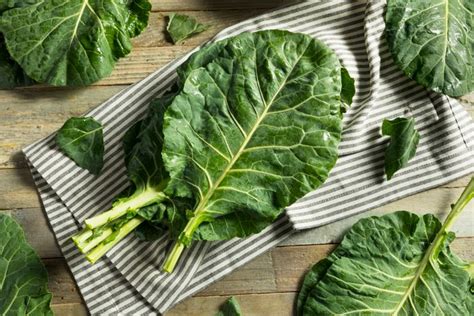
2. Airtight Container with a Damp Cloth
For robust greens like kale or Swiss chard, an airtight container with a damp cloth works wonders. Line the bottom of a container with a slightly damp (not wet) paper towel or clean kitchen cloth. Add your thoroughly dried greens, and then place another slightly damp cloth on top before sealing the lid. The dampness helps maintain humidity without making the greens soggy, preventing them from drying out too quickly.
3. The Water Bath Method (for certain types)
Certain greens, particularly those with sturdy stems like romaine lettuce hearts, celery, or asparagus, can benefit from being stored in water. Trim the very ends of the stems and place the greens upright in a glass jar or container with about an inch of water at the bottom. Cover the top loosely with a plastic bag or wrap, creating a mini-greenhouse effect. Change the water every day or two. This method allows the greens to rehydrate through their stems, keeping them remarkably crisp.

Reviving Wilting Wonders
Even with the best intentions, greens can sometimes start to wilt. Don’t despair! Most greens can be revived. Submerge the wilted greens in a bowl of ice water for 15-30 minutes. The cold water will help them absorb moisture and regain their turgidity and crispness. Pat them dry thoroughly before use or re-storing.
Final Tips for Flatlay Perfection
For the ultimate flatlay presentation, always use your crispiest, most vibrant greens. Consider storing smaller portions separately to minimize disturbance to the main batch. When it’s time for the shot, arrange them thoughtfully, letting their freshness shine. Proper storage extends their life, reduces waste, and ensures your culinary creations always look as good as they taste.