Achieving crisp textures & vibrant colors for stunning recipe photos?
Elevate Your Culinary Creations: A Guide to Stunning Food Photography
In today’s visually-driven world, a picture is worth a thousand ingredients, especially when it comes to sharing your delicious recipes. Capturing the true essence of your dishes – their inviting crisp textures and dazzling vibrant colors – is the secret to making mouths water and inspiring others to cook. This guide will walk you through essential techniques to transform your recipe photos from ordinary snapshots into professional-looking masterpieces that truly pop off the screen.

The Power of Light: Your First Ingredient
Great photography, particularly food photography, begins with superior lighting. Natural light is almost always your best friend. Position your food near a window, utilizing indirect, soft light. Direct sunlight can create harsh shadows and blown-out highlights, so a sheer curtain or diffuser is invaluable. Consider using a white foam board or reflector on the opposite side of your light source to bounce light back onto your dish, filling in shadows and adding a lovely glow.
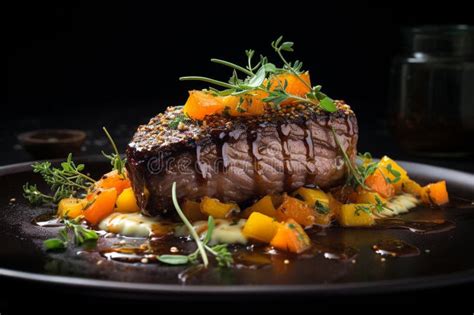
Mastering Crisp Textures
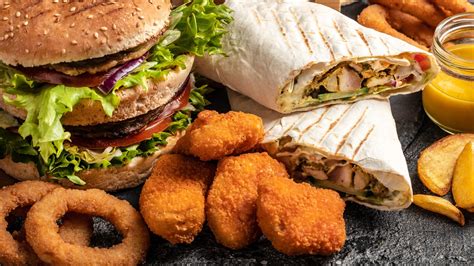
Achieving that coveted crisp texture in your photos is about more than just cooking the food right; it’s about showcasing it. A sharp focus is paramount. Use a camera with manual controls (or a smartphone app that allows it) to pinpoint the focus on the most appealing textural element – perhaps the golden crust of a pie, the crispy skin of roasted chicken, or the glistening beads of condensation on a cold drink. A shallow depth of field can beautifully blur the background, making your hero dish stand out even more. Don’t forget fresh garnishes; a sprinkle of herbs or a fresh zest can add crucial textural contrast.

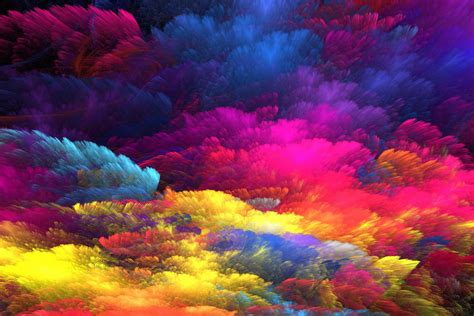
Unleashing Vibrant Colors: A Feast for the Eyes
Vibrant colors are what make food look fresh, appetizing, and bursting with flavor. Start with fresh, high-quality ingredients, as their natural hues will be the most authentic. Pay close attention to your camera’s white balance settings; an incorrect white balance can cast an unwelcome color tint over your entire image, making yellows look dull or greens appear muted. Experiment with complementary colors in your plating and backdrops to create visual interest – for example, a bright red tomato salad on a dark blue plate.
A little post-processing can go a long way in enhancing vibrancy. Adjusting saturation, contrast, and highlights/shadows can bring out the best in your colors, but always do so judiciously to maintain a natural look. Over-editing can make food look artificial and unappetizing.
Composition and Styling: Telling a Story
Beyond light and color, how you arrange your food and props tells a story. Think about composition: the rule of thirds is a classic guideline, placing your main subject off-center for a more dynamic image. Use leading lines (like cutlery or a serving spoon) to draw the viewer’s eye to your dish. Don’t overcrowd the frame; sometimes, less is more, allowing negative space to highlight your masterpiece.
Food styling isn’t just for professionals. Simple tricks like wiping plate edges clean, adding a strategic drizzle of sauce, or arranging ingredients thoughtfully can make a huge difference. Consider props like rustic cutting boards, elegant linens, or vintage cutlery, but ensure they complement, rather than distract from, the food.
Bringing It All Together: Practice Makes Perfect
Achieving consistently stunning recipe photos is an art form that evolves with practice. Don’t be afraid to experiment with different angles, lighting setups, and styling techniques. Pay attention to what inspires you in other food photography and try to emulate elements you admire. With each shot, you’ll refine your eye, improve your technical skills, and ultimately create images that do justice to the incredible flavors you’ve crafted in the kitchen. Get ready to impress your audience and share your culinary passion with truly captivating visuals!