What’s your best natural light tip for stunning ‘Real Foodie’ dish photography?

Unlocking Appetizing Shots: The Power of Soft Side Window Light
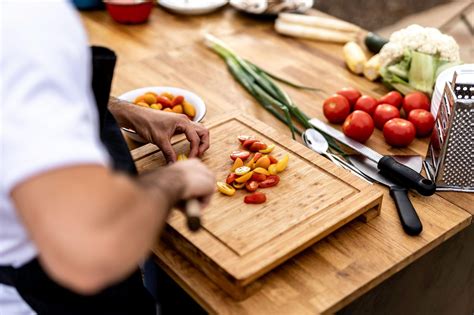
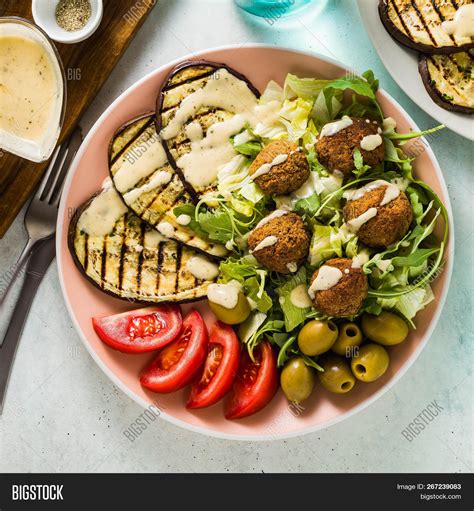
For any true ‘real foodie’, capturing the essence and deliciousness of a dish goes beyond just a quick snap. It’s about telling a story, showcasing texture, and making your audience salivate. And when it comes to achieving that mouth-watering effect without fancy studio equipment, natural light is your unparalleled best friend. But what’s the single most impactful natural light tip for consistently stunning results?
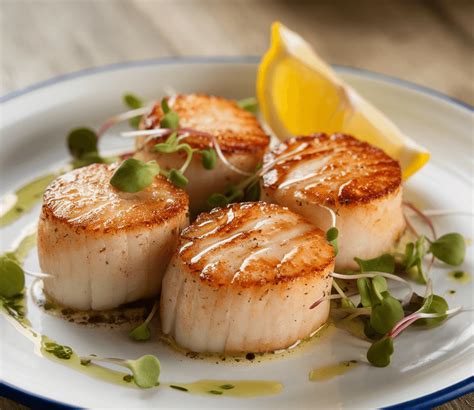
The secret lies in mastering soft, diffused side lighting from a window. Forget harsh overhead lights, direct blinding sun, or the flat look of front-on illumination. Positioning your dish beside a large window, allowing the light to hit it from the side, creates depth, texture, and beautiful shadows that bring your food to life. This isn’t just about brightness; it’s about dimension.
Why Side Lighting Reigns Supreme for Food
When light comes from the side, it naturally sculpts the food, highlighting its contours and textures. Think of the crispy crust of bread, the glistening sauce, or the delicate layers of a pastry – side light makes these details pop, adding a three-dimensional quality that front or back light often misses. It creates a gentle gradient of light and shadow, mimicking how we naturally perceive food in the best settings.

The “soft” and “diffused” aspects are equally crucial. Direct, unfiltered sunlight can be too strong, blowing out highlights and creating harsh, distracting shadows. Look for a window that doesn’t get direct sunlight, or use a sheer curtain or a diffusion panel (even a white bedsheet can work in a pinch) to soften the light. The goal is a gentle, even illumination that caresses your dish, not assaults it.
Setting Up Your Mini Food Studio
Finding the right window is the first step. North-facing windows often provide the most consistent, soft light throughout the day, avoiding direct sun. If you only have south or west-facing windows, wait for an overcast day or use your diffusion material. Place your dish on a surface next to the window, ensuring the light hits it from either the left or the right. Experiment with the distance from the window – closer for brighter, more dramatic light; further away for softer, more even illumination.

To balance shadows and add a bit more light to the darker side of your dish, employ a simple reflector. A piece of white foam board, a white napkin, or even a sheet of aluminum foil (crinkled and then flattened for a more diffuse bounce) can work wonders. Place it on the opposite side of the window from your dish, angled to bounce light back onto the food, filling in those deep shadows without eliminating the natural depth created by the side light.
Beyond the Setup: Angles and Storytelling
Once your light is perfect, consider your shooting angle. For a “real foodie” aesthetic, often a 45-degree angle or a straight-down flat lay works beautifully, depending on the dish. The side light will enhance the textures and layers regardless of your angle. Remember, your goal is to make the food look approachable, delicious, and authentic – not overly staged. Let the natural light do the heavy lifting in bringing out its inherent beauty.
The Takeaway
For stunning ‘real foodie’ dish photography, abandon complicated setups and embrace the simplicity and power of soft, diffused side lighting from a window. It’s accessible, free, and creates an authentic, appetizing look that resonates with viewers. Master this one tip, and you’ll elevate your food photos from mere snapshots to works of edible art.