Visual guide: How to properly season a cast iron skillet for non-stick cooking?

The Magic of a Well-Seasoned Cast Iron Skillet
Cast iron skillets are beloved by home cooks and professional chefs alike for their incredible heat retention, durability, and ability to go from stovetop to oven. However, the true magic of cast iron, especially its renowned non-stick properties, lies in a well-developed layer of seasoning. This isn’t just about preventing rust; it’s about creating a smooth, slick surface that makes cooking and cleaning a joy. If you’ve ever struggled with food sticking or wondered how to get that beautiful, glossy finish, you’re in the right place. This guide will walk you through the process, step by step.
Why Proper Seasoning is Crucial
Seasoning is essentially a layer of polymerized oil that bonds to the iron, creating a natural, food-safe, non-stick surface. Without it, cast iron can be prone to rusting and food will stick stubbornly. A robust seasoning layer:
- Creates a Non-Stick Surface: The smoother the seasoning, the less food will stick.
- Protects Against Rust: It forms a barrier against moisture, which is cast iron’s arch-nemesis.
- Enhances Flavor: Over time, the seasoning deepens, contributing to the skillet’s unique cooking characteristics.
- Improves Durability: A well-maintained seasoning protects the pan for generations.
What You’ll Need
Before you begin, gather these simple items:
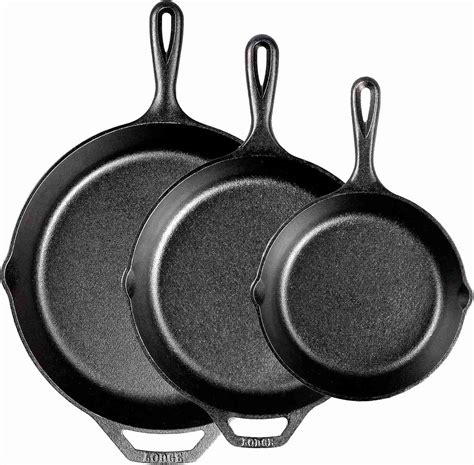
- Cast Iron Skillet: New, unseasoned, or one that needs re-seasoning.
- Mild Dish Soap & Stiff Brush/Scrubber: For initial cleaning (optional, but recommended for new pans).
- Lint-Free Cloths or Paper Towels: For applying oil and wiping.
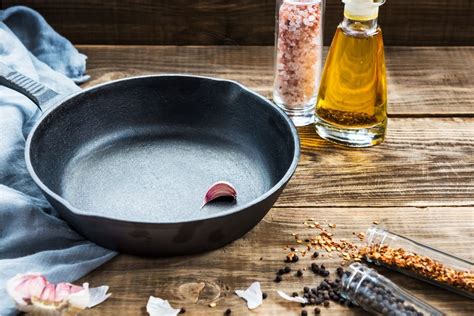
- High Smoke Point Oil: Grapeseed oil, flaxseed oil, canola oil, or vegetable oil are excellent choices. Avoid olive oil for seasoning, as its smoke point is too low.
- Aluminum Foil: To catch drips in the oven.
- Oven Mitts: For handling the hot skillet.

Step-by-Step Seasoning Process
Step 1: Clean Your Skillet Thoroughly
If you have a new skillet, it may come with a factory pre-seasoning, but an initial scrub can help ensure a clean canvas. If you’re re-seasoning an old, rusty, or sticky pan, you’ll want to strip it down to bare metal first. Wash the skillet with hot water and a small amount of mild dish soap (yes, it’s okay for seasoning if you dry it immediately!). Use a stiff brush or scrubber to remove any residue. Rinse thoroughly.
Important: Dry the skillet immediately and completely to prevent rust. You can place it on a burner over medium heat for a few minutes until all moisture evaporates.
Step 2: Apply a Thin Layer of Oil
Once the skillet is clean and dry, it’s time for the oil. Pour a small amount (about 1 teaspoon) of your chosen high smoke point oil onto the skillet. Using a clean, lint-free cloth or paper towel, rub the oil all over the entire skillet – inside, outside, handle, and even the bottom. The goal is to apply the absolute thinnest layer possible. It should look barely oiled, not greasy. Excess oil will lead to a sticky, gummy seasoning layer.
Step 3: Bake/Cure the Skillet
Preheat your oven to a temperature between 450°F and 500°F (232°C – 260°C). Place a sheet of aluminum foil on the bottom rack of your oven to catch any potential oil drips.
- Place the oiled skillet upside down on the middle or top rack. This helps drain any excess oil that might accumulate.
- Bake for one hour. During this time, the oil will polymerize, bonding to the iron and forming a hard, non-stick coating.
- After one hour, turn off the oven and let the skillet cool completely inside the oven. This slow cooling process helps the seasoning adhere properly.

Step 4: Repeat for Multiple Layers
One layer of seasoning is a good start, but for true non-stick performance and durability, repeat the oiling and baking process (Steps 2 and 3) at least 3-4 more times. Each layer contributes to a thicker, more robust, and slicker seasoning. The more layers, the better the non-stick quality and protection against rust. With each successive layer, your skillet will gradually darken and develop a beautiful sheen.
Maintaining Your Seasoned Skillet
Even a perfectly seasoned skillet needs ongoing care to maintain its non-stick properties:
- Wash Gently: After cooking, wash your skillet with hot water and a stiff brush or scraper. Avoid harsh detergents or abrasive scrubbers if possible. A small amount of mild soap is fine, but always dry immediately.
- Dry Thoroughly: Always dry your skillet completely after washing, either with a towel or by placing it on low heat on the stovetop for a few minutes.
- Light Re-oiling: After drying, apply a very thin layer of oil (just a few drops, wiped almost dry) to the entire surface, inside and out, before storing. This provides an extra layer of protection.
- Cook with Oil/Fat: Regular cooking with oils or fats (like frying, searing, or baking) will naturally build up and maintain your seasoning over time.

Troubleshooting Common Seasoning Issues
- Sticky/Gummy Surface: This usually means you applied too much oil before baking. Scrape off the sticky residue, wash, and re-season with a much thinner coat of oil.
- Flaking Seasoning: If your seasoning is flaking off, it might be due to uneven application of oil or too thick layers. Strip the pan and start fresh, ensuring extremely thin layers.
- Rust Spots: If rust appears, scrub it away with steel wool or a stiff brush. Dry immediately and apply a fresh layer of seasoning to the affected area, or re-season the entire pan.
Conclusion
Seasoning a cast iron skillet is a simple, rewarding process that transforms it into an invaluable kitchen tool. With a little patience and consistent care, you’ll achieve that coveted non-stick surface, ensuring your cast iron skillet lasts a lifetime and continues to perform beautifully. Embrace the process, and enjoy the delicious results that only a properly seasoned cast iron pan can deliver!