Best tips for keeping fresh herbs vibrant & photo-ready for foodie feasts?

Why Vibrant Herbs Matter for Flavor and Photos
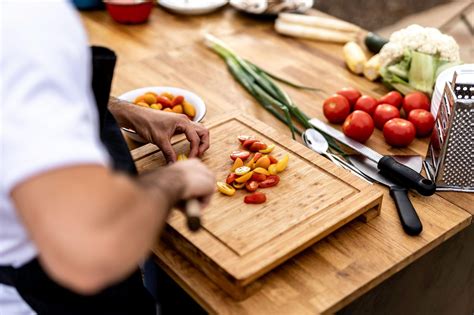
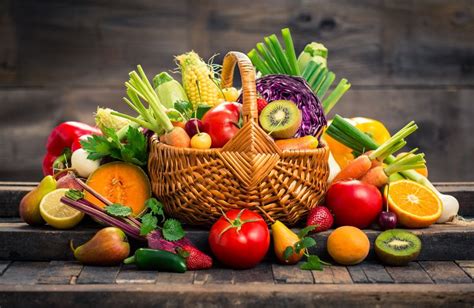
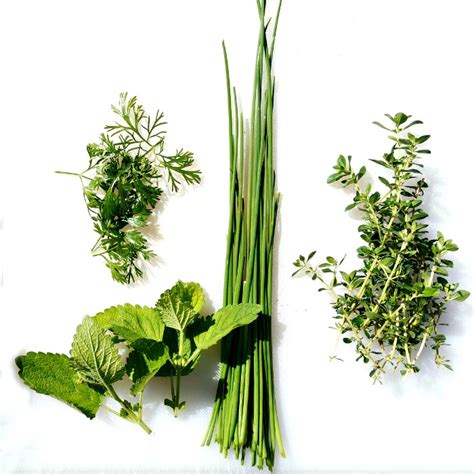
Fresh herbs are more than just a garnish; they’re an essential component of flavor, aroma, and visual appeal in countless dishes. For home cooks and food bloggers alike, having vibrant, photo-ready herbs can elevate a simple meal into a culinary masterpiece, both on the plate and through the lens. Wilted, discolored herbs can detract from an otherwise perfect dish. The good news is, with a few simple techniques, you can keep your herbs looking their absolute best, ready for any foodie feast or impromptu photoshoot.
The Art of Initial Care & Storage
The lifespan of your herbs begins the moment you bring them home. Proper initial care is crucial for longevity.
Upon Arrival: Gentle Wash & Trim
As soon as you unpack your herbs, give them a gentle rinse under cool water to remove any dirt or debris. Pat them very lightly with a paper towel or let them air dry briefly. For most herbs, especially those with woody stems like rosemary or thyme, a slight trim of the very bottom of the stems can help them absorb water better, much like fresh-cut flowers.
Method 1: The Water Jar Trick (for Tender Herbs)
This method is fantastic for tender, leafy herbs like parsley, cilantro, basil, and mint. Treat them like a mini bouquet:
- Fill a small glass jar or container with about an inch of fresh, cool water.
- Place the trimmed herb stems into the water, ensuring the leaves stay above the waterline.
- For most herbs (excluding basil), cover the leaves loosely with a plastic bag before placing them in the refrigerator. This creates a mini-greenhouse effect, preserving moisture.
- Basil prefers room temperature, so keep it on your counter, away from direct sunlight and drafts.
- Change the water every 1-2 days to keep it fresh and prevent bacterial growth.
Method 2: The Damp Paper Towel Roll (for Delicate Herbs)
Some herbs, particularly those prone to wilting quickly or those you plan to use within a few days, benefit from this method:
- Lay the clean, dry herbs flat on a slightly damp paper towel.
- Gently roll them up into a loose log.
- Place the wrapped herbs into a resealable plastic bag or an airtight container.
- Store in the refrigerator.
Method 3: Airtight Containers (for Longer Storage)
This is excellent for heartier herbs or larger quantities. After washing and thoroughly drying your herbs (a salad spinner works wonders!), layer them loosely in an airtight container with a piece of dry paper towel on the bottom and top to absorb excess moisture. Seal tightly and refrigerate.
Reviving Wilted Herbs: The Ice Water Bath
Even with the best intentions, sometimes herbs can look a little tired. Don’t despair! A quick ice water bath can work wonders, bringing them back to life and restoring their crispness for that perfect shot.
The Technique:
Fill a bowl with ice water. Immerse your wilted herbs (leaves and stems) completely in the icy bath for 15-30 minutes. The cold shock and rehydration will plump up the cells, making the herbs firm and vibrant again. Once revived, gently pat them dry with a paper towel or use a salad spinner before use or storage.

Prepping for Your Photo Shoot
Beyond freshness, presentation is key for photo-ready herbs.
Gentle Washing & Drying
Before any photoshoot, re-wash your herbs if necessary. Gently blot them dry with a soft paper towel to remove any water droplets that might create unwanted reflections or appear as blemishes in your photos. A super-fine mist of water can sometimes be attractive for a dewy look, but use sparingly.
Arranging for Impact
Less is often more when it comes to garnishing. Arrange your herbs naturally; avoid overly manicured or stiff placements. Think about:
- Placement: A few sprigs artfully placed can add depth and freshness.
- Contrast: Consider the color of your dish and choose herbs that offer a pleasing contrast.
- Texture: Use different herb textures (e.g., feathery dill, broad basil leaves) to add interest.
- Natural Movement: Let the herbs fall as they would naturally, giving a more organic and inviting feel to your photo.

By following these tips, your fresh herbs won’t just taste better; they’ll look absolutely stunning, ready to steal the show in any foodie feast or Instagram feed. Happy cooking and photographing!