


Plating hacks: Make your home-cooked dishes photo-ready for a stunning visual feed!

Elevate Your Everyday Meals for Social Media Stardom
In today’s visually driven world, a delicious meal isn’t just about taste – it’s also about presentation. Whether you’re sharing your culinary creations with friends and family or building a vibrant food blog, making your home-cooked dishes look as good as they taste is key. You don’t need to be a Michelin-star chef to achieve stunning plating; a few simple “hacks” can transform your everyday meals into photo-ready masterpieces. Let’s dive into the secrets of making your dishes pop on screen.
Choose Your Canvas Wisely: The Power of the Plate
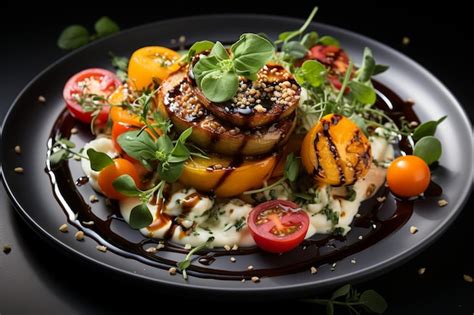
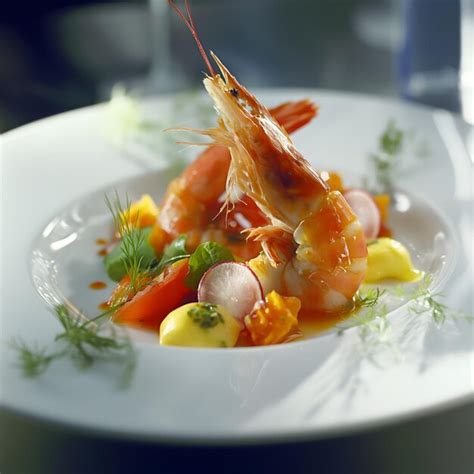
Think of your plate as the canvas for your edible art. The right plate can make all the difference. Opt for simple, neutral-colored plates (white, cream, black, or slate gray) as they allow the vibrant colors of your food to stand out. Avoid overly patterned plates that can distract from your dish. Consider the size as well; don’t overcrowd a small plate, but also avoid a tiny portion lost on a vast surface. A good rule of thumb is to leave some negative space around your food to create a sense of elegance and focus.
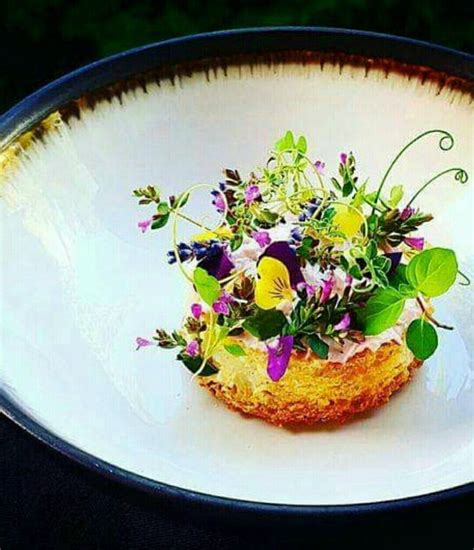
Mastering the Art of Arrangement: The Rule of Odds and Peaks
Once you have your canvas, it’s time for the main event. Instead of just dumping food onto the plate, think about strategic placement. The “rule of odds” suggests that arranging items in odd numbers (e.g., three asparagus spears, five cherry tomatoes) is more visually appealing than even numbers. Create height and texture by stacking components rather than spreading them flat. Think about creating a “hero” element – the main protein or star vegetable – and building around it. Place your main item slightly off-center for a dynamic composition.
Color, Contrast, and Texture: Making Food Pop
A visually appealing dish is a symphony of colors, textures, and contrasts. Incorporate a variety of colors through different ingredients – a vibrant green herb against a rich red sauce, or a bright orange carrot purée next to a perfectly seared piece of fish. Vary textures to keep things interesting: crunchy nuts, creamy sauces, tender meats, crisp vegetables. Use contrasting colors to highlight elements; for instance, a light sauce on a dark protein or vice-versa. Don’t be afraid to experiment!
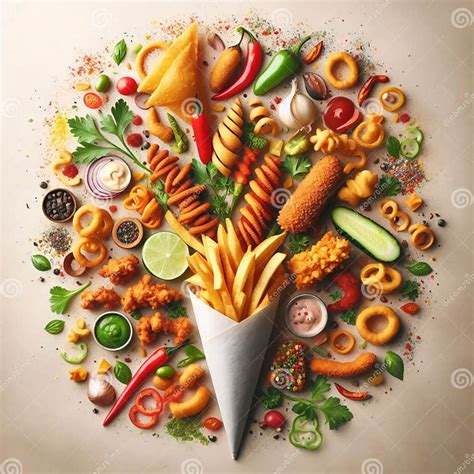
The Finishing Touches: Sauces, Garnishes, and Drizzles
These are the elements that truly elevate a dish from good to gourmet. Sauces aren’t just for flavor; they can be used to add visual flair. A careful drizzle, a swipe with a spoon, or a few artful dots can transform the presentation. Garnishes should be fresh, edible, and relevant to the dish. Think finely chopped fresh herbs, a sprinkle of toasted seeds, a wedge of citrus, or edible flowers. A tiny pinch of flaky sea salt or a crack of fresh black pepper just before serving can also add a professional touch.
Light It Up: A Quick Photography Tip
Even the most perfectly plated dish needs good lighting to shine. Natural light is almost always best. Place your dish near a window, but avoid direct harsh sunlight, which can create strong shadows. Instead, opt for soft, diffused light. Shoot from above (flat lay) for a dramatic overview, or from a slight angle to capture height and dimension. A clean background will ensure your food remains the star of the show.

Practice Makes Perfect: Enjoy the Process
Plating is a skill that improves with practice. Don’t be discouraged if your first attempts aren’t perfect. Start with simple dishes and gradually experiment with more complex arrangements. The goal is to make your food look inviting and delicious, reflecting the love and effort you put into cooking it. So, grab your camera, get creative, and start transforming your home-cooked meals into stunning visual feasts for your social feed!


