Actionable tips for stunning food adventure photos on a smartphone?
Unlocking Culinary Visuals on Your Smartphone
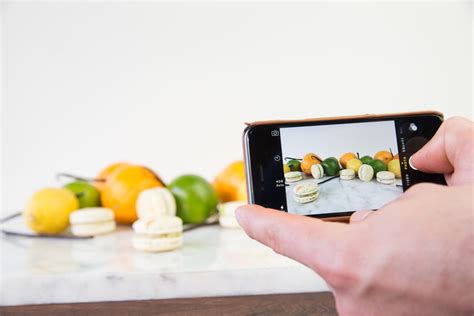
Embarking on a food adventure is about more than just taste; it’s a feast for all senses, and capturing those moments visually can elevate your experience and memories. Forget bulky DSLRs – your smartphone is a powerful tool for documenting delicious discoveries. With a few simple yet effective techniques, you can transform your everyday snaps into stunning visual stories that make mouths water and inspire wanderlust.
1. Embrace the Power of Natural Light
Good lighting is paramount in food photography, and natural light is your best friend. Always try to position your dish near a window or outdoors in diffused sunlight (shade is excellent). Avoid harsh direct sun or using your phone’s built-in flash, which can create unflattering shadows and color casts. If natural light is scarce, look for overhead ambient lighting and try to block out other distracting light sources.
Tip: Turn the dish slightly to find the best light, usually side or backlighting, to highlight textures and depth.
2. Master the Art of Composition
Composition is what guides the viewer’s eye. Think beyond just pointing and shooting. The “Rule of Thirds” is a great starting point – imagine a 3×3 grid over your screen and place key elements along the lines or at their intersections. Use negative space to make your subject stand out, and don’t be afraid to get close to capture intricate details. Leading lines (like cutlery or a table edge) can draw attention to your main dish.

3. Experiment with Angles
Different foods look best from different perspectives. An overhead (flat lay) shot is perfect for showcasing an entire spread, colorful ingredients, or intricate plating. Eye-level shots work well for dishes with height, like burgers or layered desserts. For drinks or dishes with interesting textures, a close-up shot can be incredibly effective, filling the frame with delicious detail. Don’t be afraid to move around and find what works best for each unique culinary creation.
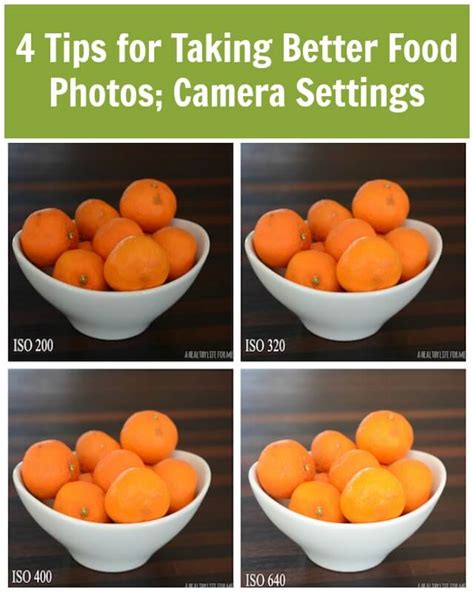
4. Leverage Your Smartphone’s Features
Modern smartphones are packed with photography features. Activate the grid lines in your camera settings to assist with composition. Utilize “Portrait Mode” (if available) to create a beautiful shallow depth of field, blurring the background and making your food pop. Experiment with manual controls or third-party camera apps that offer more granular control over exposure, focus, and white balance, allowing you to fine-tune your shot before you even press the shutter button.
5. Quick Edits for Polish
Even the best photos can benefit from a little post-processing. Most smartphones have built-in editing tools that allow you to adjust brightness, contrast, saturation, and sharpness. A slight increase in contrast and warmth can often make food look more appealing. Apps like Adobe Lightroom Mobile or Snapseed offer more advanced tools for fine-tuning colors, correcting exposure, and enhancing details. Remember, subtle edits are usually more effective than over-processing.
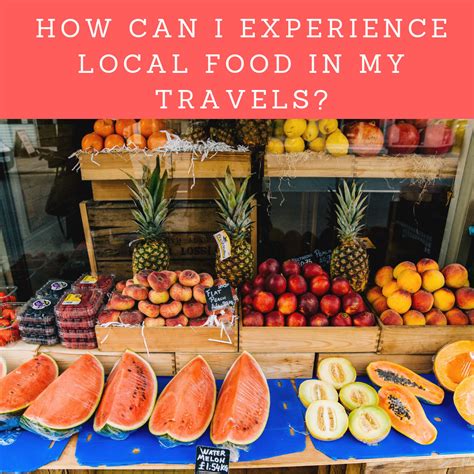
6. Tell a Story with Context
Food adventures are about the experience. Include elements that provide context: the vibrant market stall where you found a delicacy, the unique crockery of a local restaurant, or your traveling companions enjoying the meal. A hand reaching for a plate, steam rising from a dish, or the ambiance of the dining setting can add depth and narrative to your photos, transforming them from mere food pictures into memorable travel stories.

Conclusion: Eat, Shoot, and Explore!
Capturing stunning food adventure photos with your smartphone is less about expensive gear and more about understanding light, composition, and your phone’s capabilities. Practice these tips on your next culinary journey, and you’ll soon be sharing mouth-watering images that transport your audience right to your plate. Enjoy the process, experiment boldly, and most importantly, savor every delicious moment!