


Best hack for keeping cooked vegetables vibrantly colored for stunning food pics?

Unlock the Secret to Picture-Perfect Produce
In the world of food photography, vibrant colors are paramount. A dish might taste incredible, but if its visual appeal is lacking, it won’t capture imaginations. Cooked vegetables, in particular, often lose their brilliant hues, turning dull or muted during the cooking process. But what if there was a simple, yet highly effective, trick to keep those greens emerald, those reds ruby, and those yellows sunny? There is, and it’s a staple in professional kitchens for a reason.

The Culinary Science Behind Color Loss
Before we dive into the hack, let’s understand why vegetables lose their luster. Heat breaks down chlorophyll (the pigment responsible for green in many vegetables), carotenoids (yellows, oranges), and anthocyanins (reds, purples). Overcooking is the primary culprit, causing cell walls to collapse and pigments to degrade. For green vegetables, prolonged heat also activates acids that interact with chlorophyll, turning it an unappetizing olive-green.
Why Green Vegetables are Tricky
Green vegetables like broccoli, green beans, and asparagus are particularly prone to color loss. Their chlorophyll content is highly sensitive to heat and acid. The longer they cook, the more likely they are to turn drab. The goal is to cook them just enough to soften, but not so much that their vibrant green disappears.
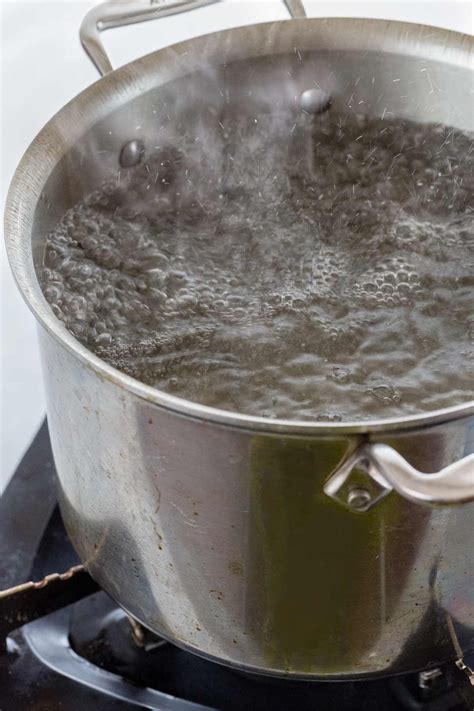
The Ultimate Hack: Blanching and Shocking
This two-step process is the undisputed champion for preserving vegetable color, texture, and often, nutrients. It’s quick, simple, and delivers dramatically better results than simply boiling or steaming.
Step-by-Step Blanching & Shocking Guide
1. Prepare Your Vegetables: Wash and trim your vegetables as desired. Cut them into uniform pieces so they cook evenly.
2. Prepare Your Stations:
- Bring a large pot of heavily salted water to a rolling boil. The salt helps season the vegetables and raises the boiling point slightly.
- Prepare a large bowl of ice water, ensuring there are plenty of ice cubes to keep it very cold. This is your ‘ice bath’ or ‘shock bath’.

3. Blanch: Carefully submerge your vegetables into the boiling water. Do not overcrowd the pot; work in batches if necessary to maintain water temperature. Cook for a very short period, typically 1-3 minutes. You’re looking for them to turn bright, vibrant, and slightly tender-crisp. This brief cooking time is enough to brighten the color and begin the cooking process without overdoing it.
4. Shock: Immediately after the blanching time is up, use a slotted spoon or spider to transfer the vegetables from the boiling water directly into the ice bath. This rapid cooling halts the cooking process completely and ‘sets’ the vibrant color. Let them sit in the ice bath for roughly the same amount of time they blanched, or until they are completely chilled.

5. Drain and Dry: Once chilled, remove the vegetables from the ice bath and drain them thoroughly. Pat them dry with paper towels. Excess water can dilute flavors and make them soggy if you plan to sauté or roast them later.
Beyond Blanching: Additional Color-Retaining Tips
- Cook Al Dente: Always aim for slightly undercooked. Vegetables continue to cook from residual heat after being removed from the stove.
- Avoid Overcrowding: When sautéing or roasting, give vegetables space in the pan. Overcrowding leads to steaming, which dulls color and texture.
- Acid and Alkali Awareness: Acids (like lemon juice or vinegar) can dull the color of green vegetables if added too early. Alkalis (like baking soda) can make them unnaturally bright but also mushy. Use these sparingly and at the end of cooking.
- Proper Storage: Store blanched and shocked vegetables in an airtight container in the refrigerator for a few days, ready to be reheated or used in cold dishes.

Conclusion
The blanching and shocking method is an indispensable tool for anyone serious about food photography or simply wanting to enjoy more visually appealing meals. It’s a quick, easy, and highly effective way to ensure your cooked vegetables retain their stunning, natural colors, making every dish camera-ready and every meal a feast for the eyes.


