


Best plating tips for photo-ready homemade dishes?

Transforming Your Homemade Meals into Visual Feasts
In the age of social media, a delicious homemade meal isn’t just about taste; it’s also about presentation. Turning your culinary creations into Instagram-worthy masterpieces requires a few thoughtful plating techniques. Whether you’re a seasoned chef or a home cook looking to impress, these tips will help you elevate your dishes from delightful to truly photo-ready.
Mastering the Art of Arrangement
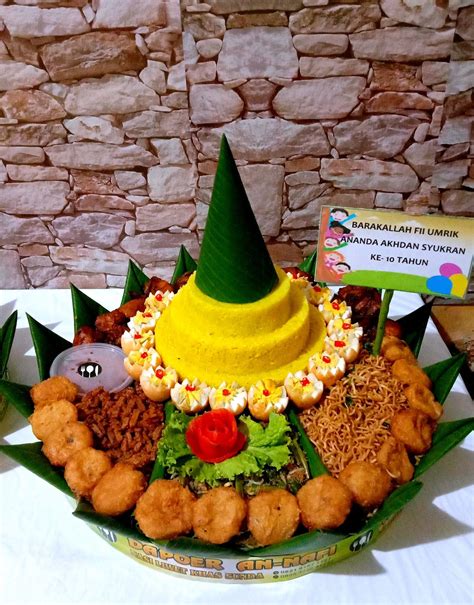
The foundation of great plating lies in thoughtful arrangement. Think about the “rule of thirds” in photography – it applies to food too. Avoid piling everything in the center. Instead, aim for balance and visual interest. Place your main protein as the star, slightly off-center, then arrange accompanying elements around it. Consider the “clock face” method: protein at 6 o’clock, starch at 10, and vegetables at 2, but don’t feel constrained by rigid rules. The goal is an appealing asymmetry that guides the eye.
Another powerful concept is the “rule of odds.” Plates with an odd number of elements (e.g., three asparagus spears, five cherry tomatoes) tend to be more visually appealing and dynamic than those with an even number. This subtle trick adds professional flair to your presentation.
Playing with Color and Contrast
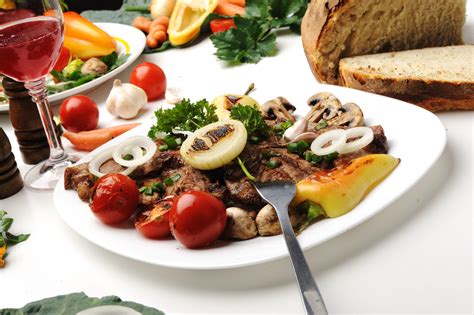
Color is perhaps the most immediate visual cue on a plate. A monochromatic dish, no matter how tasty, can look dull in a photo. Strive for a vibrant palette by incorporating ingredients of varying hues. Think about the natural colors of your food – bright greens from herbs, reds from berries or bell peppers, and the earthy tones of roasted vegetables. Use contrasting colors to make elements pop. A sprinkle of fresh parsley on a creamy soup, or a vibrant coulis beneath a dessert, can dramatically enhance visual appeal.
Building Height and Adding Texture
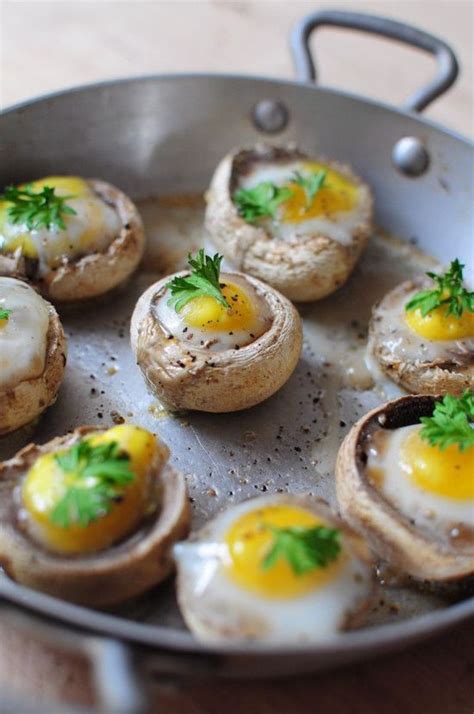
Flat food photographs poorly. Introducing height and varying textures adds depth and dimension, making your dish more dynamic and inviting. Instead of spreading a sauce thinly, consider a deliberate drizzle or a swoosh. Stack ingredients strategically – a perfectly seared steak can be slightly elevated by a bed of mashed potatoes or a nest of sautéed greens. Use crisps, toasted nuts, or a delicate tuile to add contrasting textures that catch the light and add interest.
The Power of Negative Space and Clean Plates
Sometimes, less is more. Don’t overcrowd your plate. Leaving deliberate “negative space” around your food allows each component to breathe and stands out individually, drawing the viewer’s eye to the main event. A clean plate edge is also non-negotiable for a professional look. Always wipe away any drips, smears, or stray garnishes from the rim of your plate before serving or photographing. A simple paper towel or a clean cloth can make all the difference between messy and magnificent.

Garnish with Intention
Garnishes aren’t just for show; they should complement the dish in flavor and texture. A well-chosen garnish adds a final flourish and can introduce a contrasting color or texture. Think beyond a simple sprig of parsley. Edible flowers, microgreens, a dusting of spices, a swirl of crème fraîche, or a perfectly placed lemon wedge can elevate a dish. Just remember to garnish with purpose and restraint – too much can look cluttered.
Conclusion: Practice Makes Perfect
Plating is an art that improves with practice. Don’t be afraid to experiment with different arrangements, colors, and textures. Take photos from various angles to see what works best. With these tips, you’ll be well on your way to creating homemade dishes that taste incredible and look absolutely stunning, ready for their close-up!


