Elevate dish plating: pro tips for stunning food photography?
The Art of the Visual Feast: Why Plating Matters for Photography
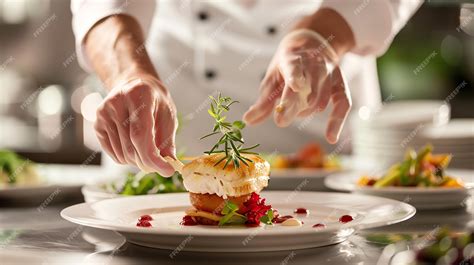
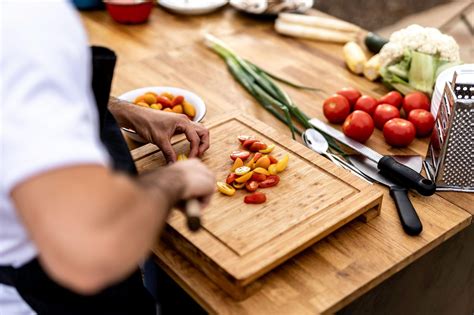
In the age of social media, a delicious meal is often judged as much by its appearance as its taste. For aspiring food photographers, home cooks, or professional chefs looking to showcase their culinary prowess, mastering the art of dish plating is non-negotiable. Stunning food photography begins long before the camera comes out; it starts in the kitchen with a thoughtful approach to presentation. A well-plated dish tells a story, highlights textures, and invites the viewer to imagine the flavors. It transforms a simple meal into an edible work of art.
This guide delves into professional tips and techniques to elevate your plating game, ensuring your dishes not only taste incredible but also look spectacular through the lens. From understanding fundamental principles to utilizing garnishes effectively, we’ll cover everything you need to know to create Instagram-worthy meals every time.
Fundamental Principles of Stunning Plating
1. The Rule of Odds and Asymmetry
Humans are naturally drawn to odd numbers and asymmetry in visual arrangements. When plating, aim for 3 or 5 main components rather than 2 or 4. Arrange elements off-center, creating a dynamic and interesting composition that feels natural rather than rigid. Think of it like a beautiful landscape – rarely is everything perfectly symmetrical. This approach adds depth and movement, guiding the eye across the plate.
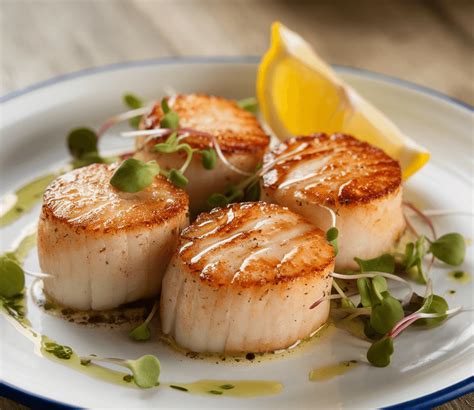
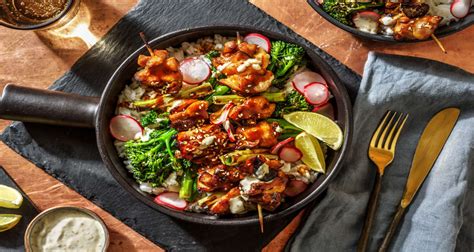
2. Balance, Color, and Contrast
A visually appealing dish strikes a balance in all aspects. Consider the:
- Color: Use a variety of colors to make your dish pop. Green herbs, vibrant red sauces, and bright yellow citrus zest can add life.
- Texture: Incorporate different textures – crunchy, smooth, creamy, crispy – to add visual and sensory interest.
- Shape: Vary the shapes of your ingredients. Circles, squares, long lines, and irregular forms keep the eye engaged.
- Size: Ensure components are portioned appropriately and complement each other without overwhelming the plate.
Contrast is key here. A light protein on a dark sauce, or a smooth puree next to a crunchy garnish, creates visual excitement.
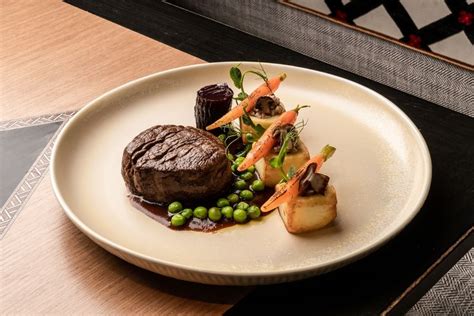
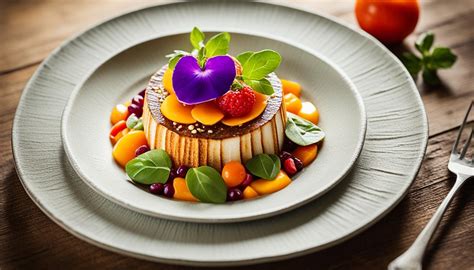
3. Creating Height and Dimension
Flat dishes can look uninspiring in photographs. Introduce height to add drama and make your food look more substantial and elegant. Stack components, lean elements against each other, or use a base layer to build upon. Think vertically! This technique adds a sculptural quality to your dish, making it appear more sophisticated and professionally prepared. Taller elements naturally draw the eye upwards.
Pro Techniques and Tools for Precision
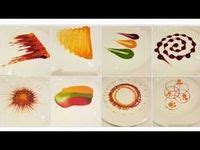
1. Strategic Saucing and Purees
Sauces aren’t just for flavor; they are powerful plating tools. Use squeeze bottles, spoons, or even pastry bags to create precise drizzles, swooshes, or dots. A well-placed sauce can act as a foundation for other elements, add a pop of color, or create an artistic pattern on the plate. Remember to clean the edges of your sauce application for a professional finish.
2. The Power of Garnishes
Garnishes are the jewelry of your dish. They add the final touch, enhancing color, texture, and overall appeal. Common garnishes include fresh herbs (chives, parsley, dill), microgreens, edible flowers, citrus zest, toasted nuts, or a sprinkle of paprika. Choose garnishes that complement the flavors of your dish, and apply them sparingly and purposefully. Over-garnishing can make a plate look cluttered.
3. The Clean Plate Policy
Before any food photography session, ensure your plates are immaculately clean. Use a damp cloth or a small brush to wipe away any drips, smudges, or errant crumbs. A pristine plate creates a professional backdrop, allowing your beautifully plated food to truly shine. This attention to detail can make a significant difference in the final photograph.
Plating for the Lens: Photography Considerations
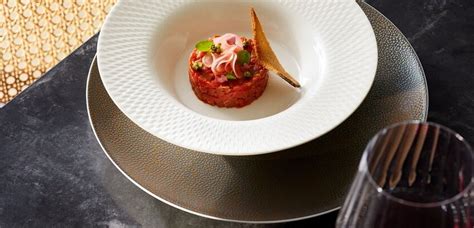
1. Choose the Right Plate
The plate itself is part of the composition. Opt for simple, neutral-colored plates (white, black, or earthy tones) that won’t distract from the food. The size of the plate should also be appropriate; leave some negative space around your food to prevent it from looking cramped. This negative space helps frame your dish beautifully.
2. Consider Your Angles
How you plate should also consider the photography angle. If shooting from directly above (flat lay), focus on circular patterns and even distribution. If shooting from a 45-degree angle, emphasize height and layers. If shooting close-up, highlight textures and small details. Always envision the final shot as you plate.
3. Lighting is Everything
While not strictly a plating tip, good lighting can enhance even the simplest presentation. Natural, soft light is generally best for food photography. Position your dish near a window, using reflectors if necessary, to create beautiful highlights and shadows that emphasize the textures and dimensions you’ve carefully crafted through your plating.
Practice Makes Perfect
Mastering dish plating for stunning food photography is an ongoing journey. Experiment with different arrangements, ingredients, and techniques. Don’t be afraid to make mistakes – each one is a learning opportunity. Pay attention to how professional chefs and food stylists plate their dishes for inspiration. With practice and a keen eye for detail, you’ll soon be transforming your meals into captivating visual stories that are as delightful to look at as they are to eat.