How to achieve a perfect, golden-brown sear on proteins every time?
The Art of the Golden-Brown Sear
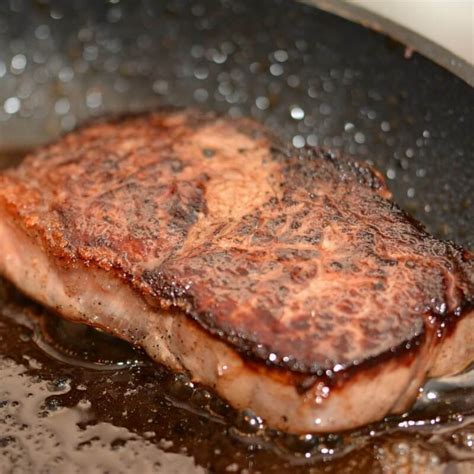
A perfectly seared piece of meat, poultry, or fish boasts a delectable golden-brown crust that locks in juices and amplifies flavor. This culinary magic, known as the Maillard reaction, transforms simple proteins into a symphony of complex aromas and tastes. While it might seem daunting, achieving that restaurant-quality sear consistently is entirely within your reach with the right knowledge and technique.
This guide will walk you through the crucial steps to ensure every protein you cook emerges with an irresistible, deeply browned exterior and a tender, juicy interior.
Step 1: The Foundation – Preparation is Key
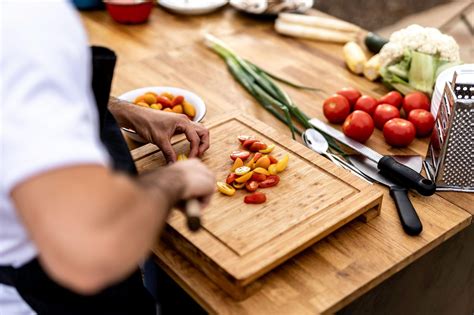
Before any heat even touches your protein, proper preparation is paramount. The single most important rule for searing is to ensure the surface of your protein is as dry as possible. Moisture is the enemy of a good sear, as it creates steam and prevents the Maillard reaction from occurring efficiently.
- Pat Dry Thoroughly: Use paper towels to vigorously pat down every surface of your protein. Don’t be shy; aim for a completely dry surface.
- Season Generously: Once dry, season liberally with salt and pepper (or your preferred spice blend). The salt also helps draw out residual moisture, contributing to a better crust.
- Bring to Room Temperature: For thicker cuts of meat, allowing them to sit out for 20-30 minutes before cooking can help them cook more evenly from edge to center.
![Pad-dry methods [23,24,37,111,112]. | Download Scientific Diagram](/images/aHR0cHM6Ly90czMubW0uYmluZy5uZXQvdGg/aWQ9T0lQLmViZHNQejFOa3p6dGYzMHhzUHNDdVFIYUN4JnBpZD0xNS4x.webp)
Step 2: Choosing Your Weapon – Pan and Oil
The right equipment makes all the difference when it comes to searing.
- The Pan: Opt for a heavy-bottomed pan that retains heat well. Cast iron skillets are the gold standard for searing due to their superior heat retention and even heat distribution. Heavy-gauge stainless steel pans are also excellent choices. Avoid non-stick pans, as they generally don’t get hot enough or retain heat as effectively for a proper sear, and the high heat can damage their coating.
- The Oil: Select an oil with a high smoke point. Oils like grapeseed, canola, avocado, or refined peanut oil are ideal. Olive oil, especially extra virgin, has a lower smoke point and will likely burn, imparting a bitter flavor to your food and filling your kitchen with smoke. Add just enough oil to lightly coat the bottom of the pan – too much will deep-fry rather than sear.
Step 3: The Heat is On – Achieving Optimal Temperature
Searing requires significant heat. Preheating your pan properly is non-negotiable.
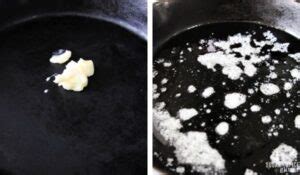
- Preheat Thoroughly: Place your empty pan over medium-high to high heat. Let it heat up for several minutes, allowing it to become uniformly hot across its surface.
- Test the Heat: Add your high smoke point oil. It should shimmer and appear very fluid. If it immediately smokes excessively, the pan is too hot – remove it from the heat for a moment, let it cool slightly, then return it. If it just sits there, it’s not hot enough.
Step 4: The Searing Technique – Patience and Precision
This is where the magic happens. Don’t rush it!
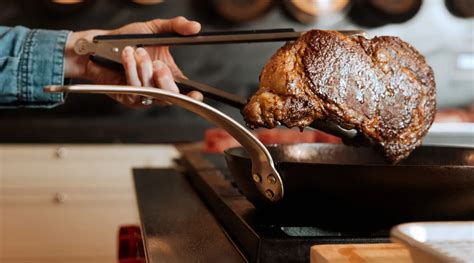
Carefully place your protein into the hot pan. You should hear a vigorous sizzle immediately. If you don’t, your pan isn’t hot enough. Crucially, do not overcrowd the pan. If you’re cooking multiple pieces, sear them in batches. Overcrowding will lower the pan’s temperature, leading to steaming rather than searing.
Once the protein is in, resist the urge to move it. Let it sit undisturbed. This allows the crust to form without tearing. The protein will naturally release from the pan when a proper crust has developed. For most proteins, this will take 2-5 minutes per side, depending on thickness and desired doneness. A good indicator is when the edges show a deep golden-brown color creeping up the sides.
Step 5: Finishing Touches – Beyond the Sear
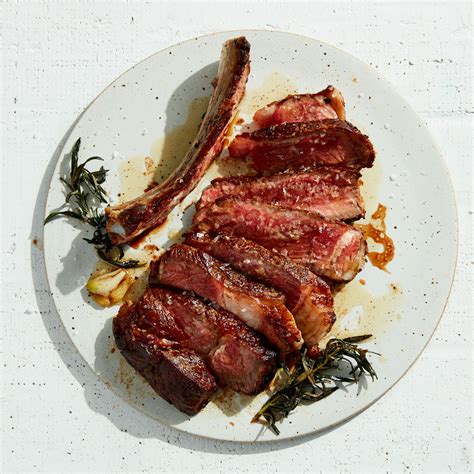
For thicker cuts of meat, after achieving a beautiful sear on all sides, you might need to finish cooking in the oven or by reducing the heat on the stovetop. Adding a knob of butter, garlic cloves, and fresh herbs (like thyme or rosemary) to the pan during the last few minutes of cooking and basting the protein with the infused butter can add incredible flavor.
Once cooked to your desired doneness, remove the protein from the pan and let it rest on a cutting board or wire rack for 5-10 minutes. Resting allows the juices to redistribute throughout the meat, ensuring a tender and moist final product. Skipping this step can result in dry, tough protein.
Master Your Sear
Achieving a perfect, golden-brown sear is a fundamental skill that elevates virtually any protein. By focusing on dryness, using the right equipment and high heat, and exercising patience, you’ll consistently create dishes that are not only delicious but also visually stunning. Practice makes perfect, so don’t be afraid to experiment and fine-tune these techniques to become a searing master in your own kitchen.