


How to achieve perfectly browned, glossy finishes on baked goods for stunning photos?

Mastering the Art of Visually Stunning Baked Goods
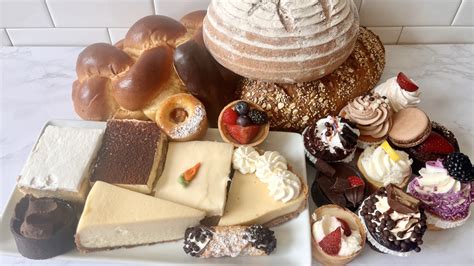
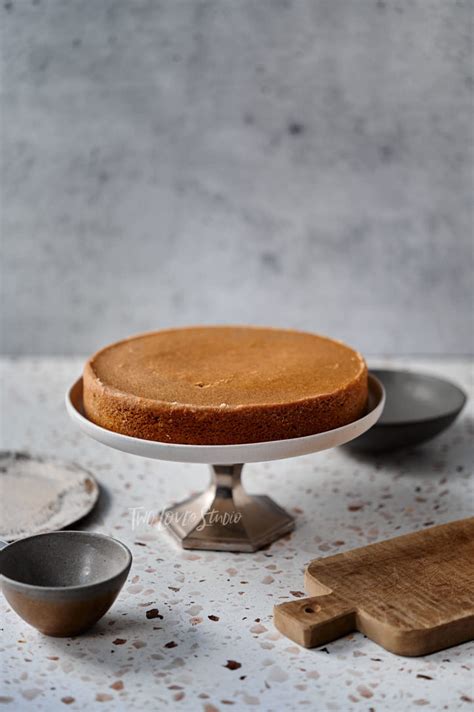
In the world of baking, taste is paramount, but presentation often tells the first story. A perfectly browned crust and a lustrous, glossy finish can elevate a humble loaf of bread or a delicate pastry into a work of art, especially when destined for a camera lens. Achieving this visual perfection isn’t just about luck; it’s a science combined with a touch of artistry. Let’s delve into the techniques that will make your baked creations truly photo-worthy.
The Science Behind the Golden Glow: Browning Explained
The inviting golden-brown hue on baked goods is primarily due to two chemical reactions: the Maillard reaction and caramelization. The Maillard reaction occurs between amino acids and reducing sugars at high temperatures, creating hundreds of flavor and aroma compounds along with a desirable brown color. Caramelization, on the other hand, is the browning of sugars themselves when heated, contributing to a rich, often nutty flavor profile and a beautiful amber tone. Understanding these processes is the first step to controlling your bake’s color.
Controlling the Maillard: Techniques for Perfect Browning
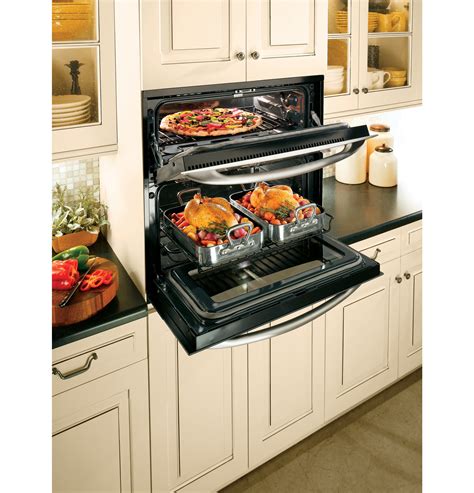
- Oven Temperature: A sufficiently hot oven (typically 350-400°F / 175-200°C) is crucial to initiate the Maillard reaction and caramelization effectively. Preheating is non-negotiable for even heat distribution. Some recipes call for a higher initial temperature to kickstart browning before reducing it for thorough cooking.
- Baking Time & Placement: Don’t underbake. Adequate time in the oven allows these reactions to fully develop. Position your baking sheet in the middle of the oven for even heat exposure. If one side is browning faster, rotate the pan halfway through baking.
- Sugar Content: Recipes with higher sugar content (e.g., sweet breads, brioche) tend to brown more readily due to increased opportunities for both Maillard and caramelization reactions.
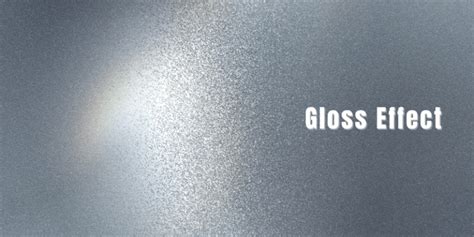
Achieving the Luminous Sheen: Secrets to a Glossy Finish
While browning is often handled by the oven, the glorious shine on baked goods is usually a result of a thoughtful application before or after baking. These external treatments add an extra layer of visual appeal.
Pre-Baking Washes for Shine and Color
- Egg Washes: The most popular choice for a beautiful sheen.
- Whole Egg + Water/Milk: A standard, all-purpose wash providing a good golden color and medium shine.
- Egg Yolk + Water/Milk: Delivers a deep, rich golden-brown color and a pronounced glossy finish, perfect for brioche or croissants.
- Egg White + Water: Offers a lighter, crispier shine without much color, ideal for delicate pastries or decorative sugar adherence.
- Milk or Cream Wash: For a softer, less intense shine and a tender crust, brush with milk or cream. This is great for scones or rustic breads where a subtle sheen is desired.
- Melted Butter: Brushing with melted butter before baking adds a rich flavor and a subtle, buttery sheen, especially good for savory pastries.

Post-Baking Glazes and Syrups for Ultimate Gloss
- Simple Syrup: For an instant, clear, and intense gloss, brush warm simple syrup (equal parts sugar and water, boiled until sugar dissolves) onto your baked goods immediately after they come out of the oven. This is fantastic for fruit tarts or sweet rolls.
- Powdered Sugar Glaze: A mix of powdered sugar, a liquid (milk, lemon juice, water), and sometimes vanilla, creates an opaque, yet beautifully shiny coating once set. Drizzle or spread while the baked good is still warm, but not hot, to allow it to set without fully melting.
- Apricot Glaze: For a professional, fruit-based shine, especially on tarts and pastries with fruit, warm apricot jam (strained) and brush it over the cooled baked good.
Presenting for the Camera: Photography Tips
Once your baked goods boast that perfect brown and dazzling gloss, capturing their beauty for stunning photos requires a few simple considerations:
- Natural Light is Your Friend: Always photograph near a window or in a well-lit area, avoiding direct harsh sunlight which can create unflattering shadows.
- Minimalist Staging: Let your beautifully finished baked good be the star. Use simple, uncluttered backgrounds and props that complement rather than distract.
- Cool Before Cutting: Allow items to cool sufficiently before slicing or styling to ensure the finish sets properly and doesn’t get marred.
- Garnish Thoughtfully: A light dusting of powdered sugar, a few fresh berries, or a sprig of mint can enhance the visual appeal without overpowering the main subject.
Conclusion: Practice Makes Perfect
Achieving perfectly browned, glossy finishes takes practice, but by understanding the underlying science and employing these proven techniques, you’ll consistently create baked goods that are as visually appealing as they are delicious. Experiment with different washes and glazes, pay attention to your oven, and soon your bakes will not only taste incredible but will also be ready for their close-up, every single time.


