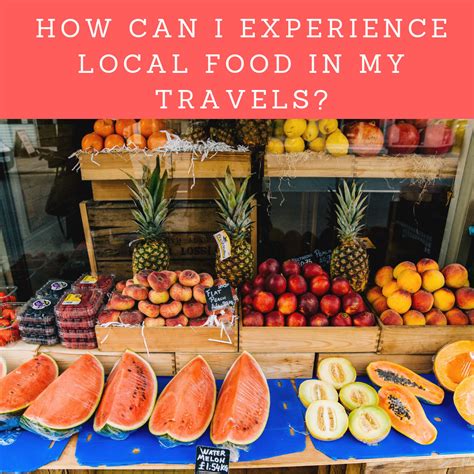
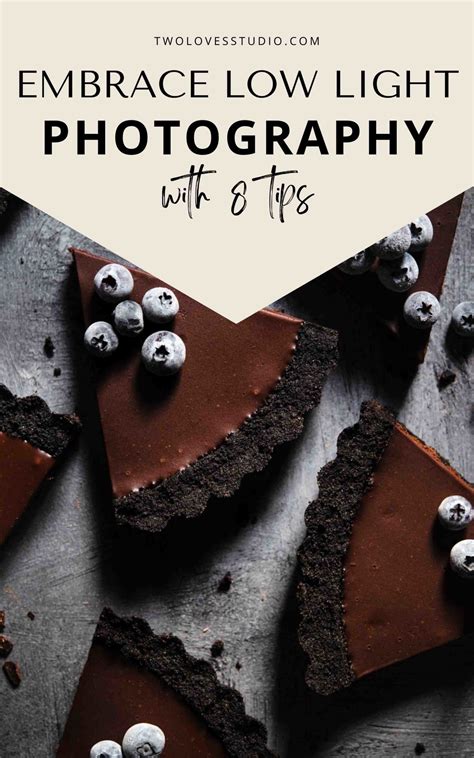
How to capture drool-worthy food photos in dimly lit, authentic eateries?

Dining in a dimly lit, authentic eatery offers a unique sensory experience – the hushed chatter, the rich aromas, and the promise of a culinary adventure. Yet, for the aspiring food photographer, this intimate setting often presents a daunting challenge: how do you capture the essence of a dish when natural light is scarce? The good news is, with a few clever techniques and a shift in perspective, you can transform these challenging conditions into opportunities for truly atmospheric and mouth-watering images.
Embrace the Challenge: Why Low Light is Your Friend
The first step to conquering low-light food photography is to change your mindset. Instead of seeing dim light as an obstacle, view it as a unique characteristic that adds depth and mood to your photos. The goal isn’t to artificially brighten every corner, but to highlight your dish in a way that preserves the eatery’s authentic ambiance. Avoid using harsh on-camera flash, which can flatten your dish and destroy the very atmosphere you’re trying to capture.

Leveraging Available Light Sources
Even the darkest corners usually have some light. Look for a nearby window, a strategically placed overhead lamp, or even the subtle glow from a decorative fixture. Position your dish so that the light source illuminates it from the side or slightly behind – this creates beautiful shadows and highlights, adding dimension. If your table is truly in a dark spot, politely ask to move to a table with better lighting. A little light goes a long way.
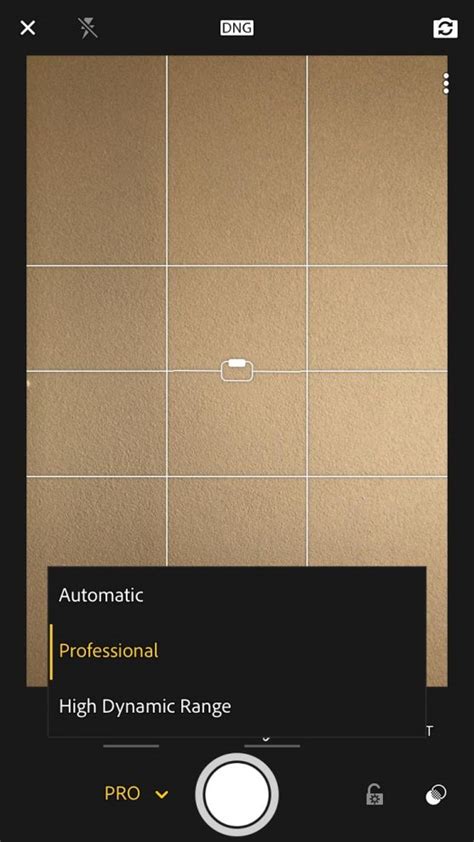
Mastering Your Smartphone or Camera Settings
Most modern smartphones are surprisingly capable in low light, especially with a few tweaks.
ISO and Aperture (For Cameras)
If you’re using a camera, open up your aperture (lower f-number) to let in more light. Increase your ISO carefully to avoid excessive noise, but don’t be afraid to push it higher than you normally would – a little grain can add character.
Exposure Compensation (For Both)
For both smartphones and cameras, learn to use exposure compensation. Tap on your dish to focus, then slide the exposure slider down slightly. This can prevent overblown highlights and retain the rich tones of your food.
Composition and Storytelling
In low light, simplicity often works best.
Get Closer
Fill the frame with your dish. This minimizes the distracting dark background and draws attention to the textures and colors of the food. Focus on a key element – a glistening sauce, a perfectly seared edge, or a vibrant garnish.
Angles and Perspective
Experiment with different angles. An overhead shot (flat lay) can work well if there’s even light from above, but a 45-degree angle or even eye-level can better showcase the dish’s depth and context within the table setting. Don’t forget to include hands or a drink to add a human element and tell a story.
The Magic of Subtle Lighting Aids
Sometimes, you need a little help.
The Second Phone Flashlight Trick
A polite and unobtrusive way to add light is to use a second phone’s flashlight. Ask a dining companion to hold their phone’s flashlight off-camera and at an angle to gently illuminate your dish. This creates soft, directional light, mimicking natural sources. Just be mindful of other diners and keep it subtle.
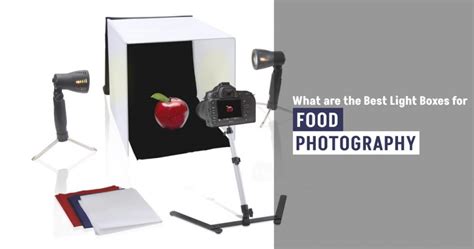
Small LED Panels
If you’re serious, a small, portable LED panel with adjustable brightness and color temperature can be a game-changer. These are discreet and provide excellent control over your lighting, allowing you to mimic warm restaurant lights.
Post-Processing: Where the Photo Comes Alive
Low-light photos often benefit significantly from post-processing.
Adjust Exposure and Shadows
Gently increase exposure and lift the shadows to reveal details without making the photo look artificial.
White Balance and Color Correction
Restaurant lighting can often cast a warm, yellowish, or even greenish tint. Adjust the white balance to bring out the true colors of your food. Boost vibrance and saturation slightly to make colors pop, but avoid overdoing it.
Sharpening and Noise Reduction
Apply a touch of sharpening to make your dish look crisp. Use noise reduction sparingly, as too much can smooth out details and make the image look fake. A little grain adds to the authentic vibe.
Final Thoughts: Practice and Experimentation
Capturing stunning food photos in dimly lit eateries is an art that improves with practice. Don’t be afraid to experiment with different settings, angles, and subtle lighting aids. The goal is to capture not just the food, but the entire dining experience – the warmth, the intimacy, and the delicious story unfolding before you. So next time you find yourself in a charmingly dim restaurant, embrace the challenge and let your creativity shine!