


How to enhance vibrant, fresh ingredient colors for stunning food photos?
The Art of Colorful Cuisine Photography
Transforming ordinary ingredients into extraordinary visual feasts is a skill every food photographer and home cook desires. The secret often lies in how effectively you highlight the natural vibrancy of fresh produce and components. Dull, muted colors can make even the most delicious dish look unappetizing, while bright, vivid hues invite the viewer to savor every detail. This guide will walk you through practical techniques to make your ingredients pop, ensuring your food photos are as stunning as they are delicious.
Start with Freshness: The Foundation of Vibrancy
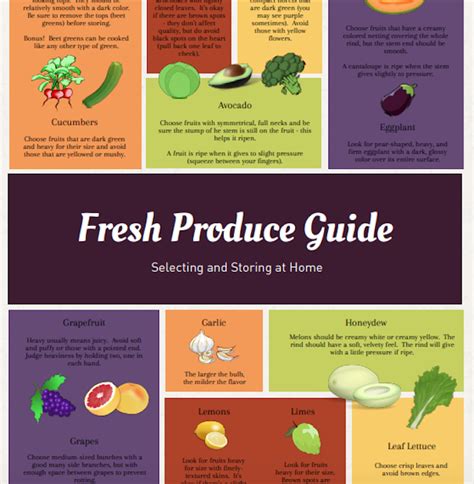
The first rule of enhancing color is to begin with the freshest ingredients possible. Wilted greens, bruised fruits, or discolored vegetables will never look vibrant, no matter how much you try to enhance them. Source high-quality, seasonal produce from local markets whenever you can. Their inherent vitality is your greatest asset.
Pre-Photography Preparation: More Than Just Cleaning
Blanching for Brilliance
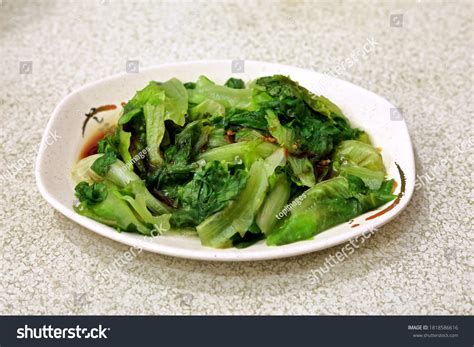
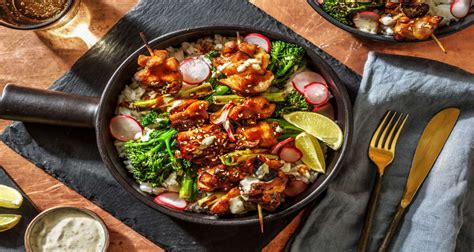
For green vegetables like broccoli, spinach, or asparagus, a quick blanching can work wonders. Submerge them in boiling water for a minute or two, then immediately plunge them into an ice bath. This process halts cooking, retains their crisp texture, and locks in that brilliant green pigment, preventing dullness.
Hydration and Shine
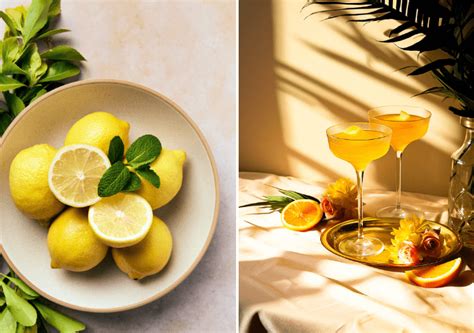
Many ingredients, especially fruits and vegetables, benefit from a little moisture. A light spritz of water can make berries glisten, greens look dewy, and peppers appear juicy. For a subtle shine on cooked meats or roasted vegetables, a thin brush of olive oil can add an appealing sheen without making them look greasy.
Mastering Light: Your Color Enhancer
Lighting is paramount in food photography. Natural, diffused light is almost always your best friend. Position your setup near a window, but use a sheer curtain or diffuser to soften harsh sunlight, which can wash out colors and create unflattering shadows. Soft light accentuates textures and allows colors to appear rich and true to life.
Avoid direct overhead lighting, which creates deep shadows and flattens your subject. Instead, experiment with side or backlighting to add depth and dimension, making colors truly sing.
Strategic Styling: Backgrounds and Props
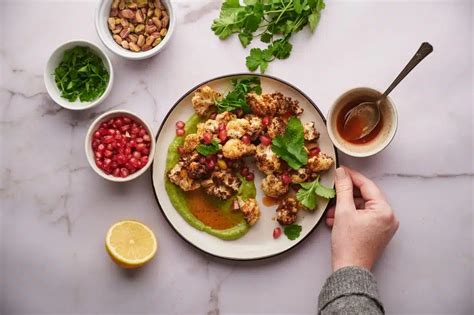
The elements surrounding your ingredients play a crucial role in color perception. Opt for neutral backgrounds (white, grey, muted wood) that won’t compete with or detract from the food’s colors. When using props, choose ones with complementary or contrasting colors that elevate, rather than overwhelm, your main subject.
Enhancing Through Contrast and Juxtaposition
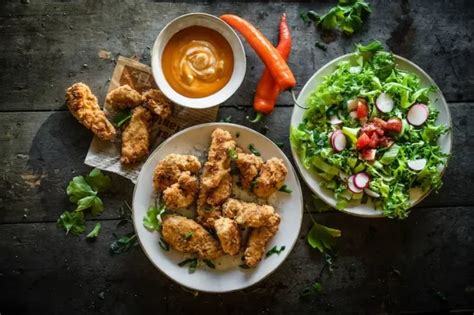
Think about how colors interact. Placing a vibrant red tomato next to fresh green basil creates a dynamic contrast that makes both colors appear more intense. A sprinkle of bright herbs or a dash of a contrasting sauce can elevate the visual appeal of an entire dish, drawing the eye and making colors pop.
Consider the color wheel for inspiration. Complementary colors (like red and green, blue and orange, yellow and purple) placed side-by-side will naturally enhance each other’s vibrancy.
Subtle Post-Processing: The Final Polish
While the goal is to achieve vibrant colors in-camera, a touch of post-processing can refine your images. Adjusting white balance to ensure accurate colors, a slight boost in saturation (be careful not to overdo it), and enhancing contrast can further bring out the best in your ingredient colors. The key is subtlety – aim for natural enhancement, not artificial oversaturation.
Conclusion: The Feast for the Eyes
Creating stunning food photos with vibrant, fresh ingredient colors is a blend of careful preparation, thoughtful lighting, strategic styling, and a keen eye for detail. By following these techniques, you’ll not only capture the deliciousness of your culinary creations but also transform them into captivating visual stories that truly shine. Happy shooting!


