How to keep vibrant colors in roasted vegetables for stunning photos?
Unlock the Secret to Visually Stunning Roasted Vegetables
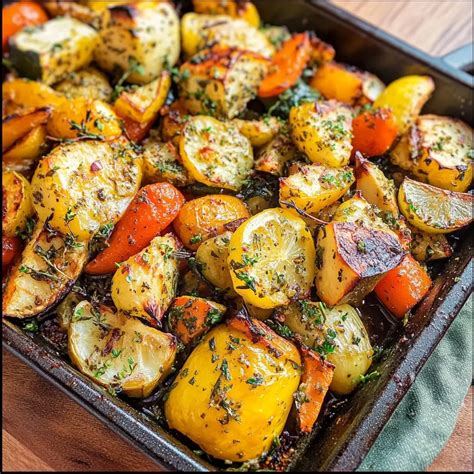
Roasted vegetables are a staple in many kitchens – delicious, nutritious, and versatile. However, often the beautiful, vibrant colors of fresh produce can dull or brown during the roasting process, leading to less-than-photogenic results. If you’re aiming for those stunning, Instagram-worthy food photos, preserving the brilliant hues of your roasted veggies is paramount. This guide will walk you through the essential techniques to ensure your vegetables emerge from the oven looking as good as they taste.
Understanding Why Colors Fade
Before diving into solutions, it’s helpful to understand the science behind color loss. High heat can break down pigments like chlorophyll (greens), carotenoids (oranges/yellows), and anthocyanins (purples/reds). Overcooking, excessive moisture, and low roasting temperatures are common culprits that lead to faded, dull, or overly browned vegetables instead of beautifully caramelized ones with their original vibrancy intact.
Preparation is Key: The Right Start
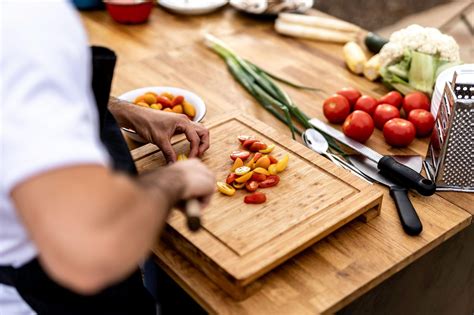
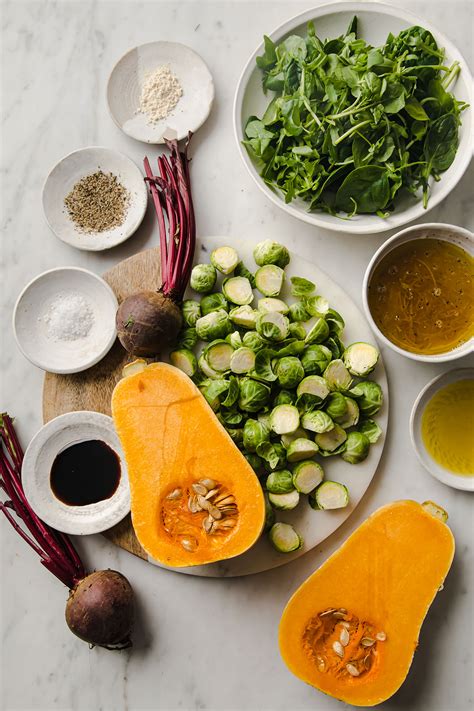
1. Dry Your Vegetables Thoroughly
Moisture is the enemy of vivid color and proper caramelization. Excess water causes vegetables to steam rather than roast, extending cooking time and leaching out pigments. After washing, pat your vegetables completely dry with paper towels or use a salad spinner for leafy greens. This step cannot be overstated for vibrant results.
2. Cut Uniformly and Don’t Overcrowd
Consistency in size ensures even cooking, preventing some pieces from overcooking and browning while others are still raw. Also, give your vegetables space on the baking sheet. Overcrowding traps steam, again leading to steaming instead of roasting. Use multiple trays if necessary, ensuring a single layer with ample breathing room.
Mastering the Roast: Heat and Timing
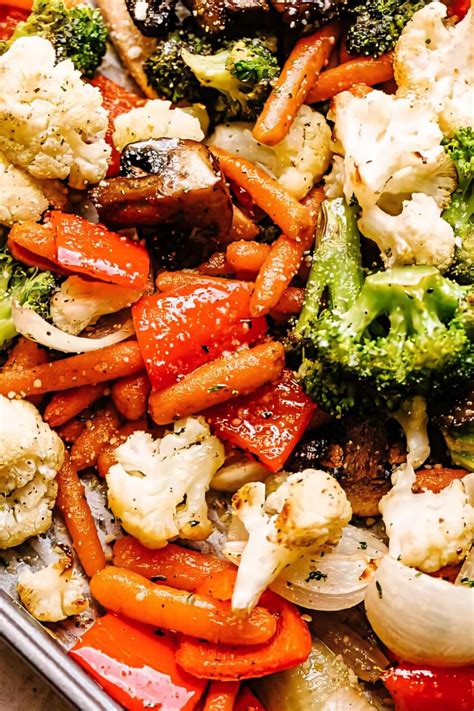
3. High Heat, Short Roast
The key to crispy edges and tender interiors without sacrificing color is high heat (typically 400-425°F or 200-220°C) and a shorter roasting time. This caramelizes the exterior quickly while preserving the internal structure and color. Keep an eye on your veggies; you want a slight char, not a deep brown all over.
4. Add Acid Towards the End
A splash of acid, like lemon juice or a mild vinegar (e.g., apple cider vinegar or white wine vinegar), added a few minutes before the end of roasting can brighten and “lock in” colors, especially for greens and reds. Acids help preserve pigments and add a fresh, zesty flavor dimension.
Advanced Techniques for Maximum Vibrancy
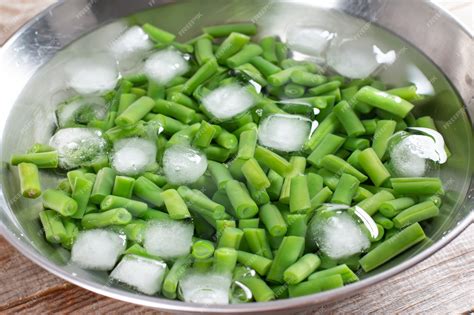
5. Blanching for Certain Vegetables
For particularly stubborn green vegetables like broccoli, green beans, or asparagus, a quick blanching before roasting can work wonders. Briefly immerse them in boiling salted water for 1-2 minutes, then immediately transfer them to an ice bath to stop the cooking process. This sets the color beautifully, making them pop even more during a quick, high-heat roast.
6. Strategic Seasoning and Oil Choice
Use a high smoke point oil like avocado oil or grapeseed oil, as olive oil can burn and dull colors at very high temperatures. Toss vegetables lightly with oil and seasonings. Adding fresh herbs like parsley or cilantro after roasting (or just a minute or two before the end) will ensure they stay vibrant green and don’t turn brown and crispy.
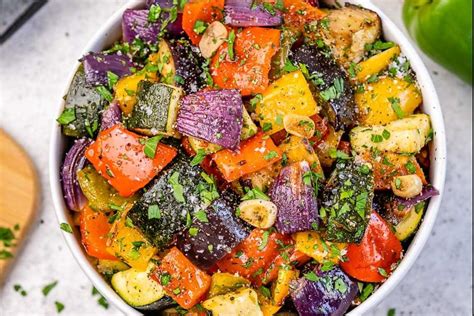
The Final Touch: Presentation
Once roasted, serve your colorful vegetables promptly. For an extra pop, garnish with fresh herbs, a sprinkle of flaky sea salt, a drizzle of high-quality extra virgin olive oil (if not used for roasting), or a scattering of toasted nuts. These elements not only enhance flavor but also contribute to the visual appeal, making your roasted vegetables truly photo-ready.

Conclusion
Achieving vibrant, stunning roasted vegetables for your culinary photography isn’t just about luck; it’s about applying a few simple, yet effective, techniques. From meticulous preparation to precise roasting methods and thoughtful finishing touches, each step plays a crucial role in preserving those beautiful natural hues. Embrace these tips, and prepare to capture truly breathtaking images of your perfectly roasted, colorful creations.