


How to optimize visual bite photos for maximum foodie engagement and recipe page clicks?
The Power of the Perfect Plate: Why Visual Bites Rule
In the digital age, where attention spans are fleeting and competition is fierce, a stunning visual bite is your most powerful tool. For food bloggers, chefs, and content creators, a single photograph can be the difference between a fleeting scroll and a fervent click. Optimized food photography doesn’t just showcase your dish; it tells a story, evokes emotion, and most importantly, compels your audience to engage and explore your recipes further.
Mastering the art of visual bites is crucial for cutting through the noise. It’s about more than just a pretty picture; it’s about strategic visual communication designed to convert. Let’s delve into the techniques that will transform your food photos into irresistible calls to action.
Mastering the Fundamentals: Lighting, Composition, and Styling
Every captivating food photo begins with a strong foundation. Without proper attention to lighting, composition, and styling, even the most delicious dish can fall flat visually.
Harnessing the Power of Light
Lighting is paramount. Natural, diffused light is often your best friend, creating soft shadows and vibrant colors that make food look fresh and inviting. Position your dish near a window, using a diffuser (like a sheer curtain or a professional light diffuser) to soften harsh light and eliminate unwanted reflections. Avoid direct overhead lighting, which can create flat, unappetizing shadows. Experiment with side and backlighting to add depth and dimension, making textures pop.

Crafting Engaging Compositions
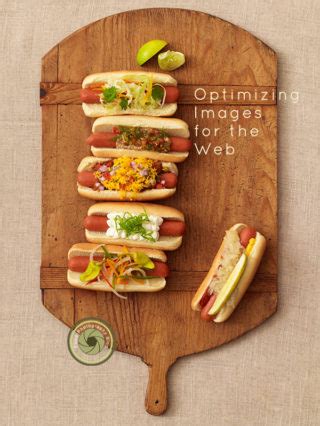
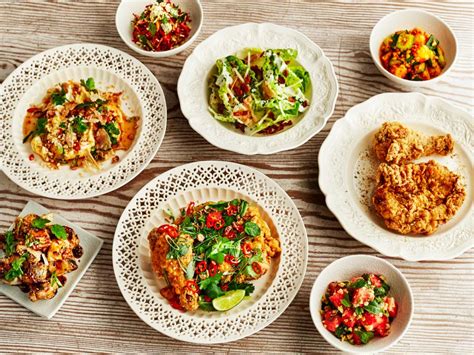
Composition guides the viewer’s eye. The rule of thirds is a classic starting point: imagine a 3×3 grid over your image and place key elements along the lines or at their intersections. Consider negative space to give your dish room to breathe. Angles also play a huge role – an overhead shot (flat lay) is great for showcasing many ingredients, while a 45-degree angle is ideal for dishes with height, and a straight-on shot can highlight specific details. Don’t be afraid to get creative with your framing.
The Art of Food Styling
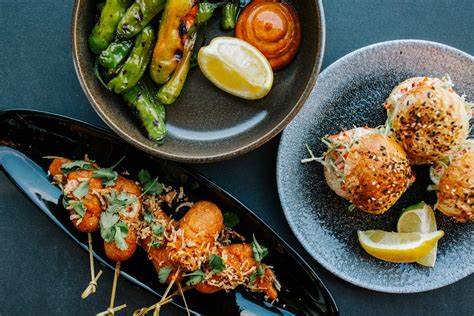
Food styling is what makes your dish camera-ready. It’s about presenting food in its most appealing state. Think about texture, color contrast, and garnishes. Use fresh herbs, citrus zests, or a sprinkle of spices to add visual interest. Props such as cutlery, plates, napkins, and backgrounds should complement, not overpower, your food. Choose items with subtle textures and muted colors that enhance the dish without distracting from it. Authenticity is key – make it look delicious and achievable.
Technical Optimization: Focus, Depth, and Post-Processing
Beyond the artistic elements, technical precision ensures your photos are crisp, clear, and professional.
Sharp Focus and Appealing Depth of Field
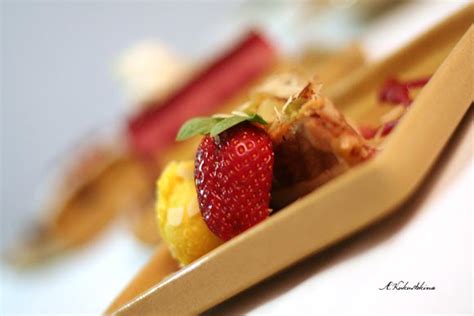
Ensure your focal point is sharp. For food photography, this typically means the most appetizing part of your dish. A shallow depth of field (achieved with a wider aperture like f/1.8 or f/2.8) can create beautiful bokeh, blurring the background and making your dish stand out. This technique draws the viewer’s eye directly to your culinary masterpiece. However, sometimes a deeper depth of field is desired to show more elements in focus, especially for flat lays.
The Power of Post-Processing
Post-processing is where you polish your masterpiece. Use editing software (Lightroom, Photoshop, Snapseed, etc.) to adjust brightness, contrast, white balance, and saturation. A slight increase in saturation can make colors pop, while adjusting white balance ensures true-to-life hues. Sharpening can add crispness, but use it sparingly to avoid an artificial look. The goal is to enhance, not distort, the natural beauty of your food.
Driving Engagement and Clicks: Beyond the Image
An optimized photo is just the first step. To maximize engagement and recipe page clicks, you need to integrate your visuals into a broader content strategy.
Crafting Compelling Captions and Calls to Action
Your caption is your story. Use it to share a brief anecdote about the recipe, highlight a key ingredient, or ask an engaging question to spark conversation. More importantly, include a clear and enticing call to action (CTA). Don’t just show; tell people what to do next. Phrases like “Tap the link in bio for the full recipe!” or “Find the step-by-step guide on our blog (link in comments!)” are essential for guiding users to your content.
Strategic Use of Platforms and Analytics
Different platforms have different strengths. Instagram is highly visual, Pinterest is a search engine for inspiration, and Facebook allows for longer-form captions and direct links. Tailor your visuals and captions to each platform. Crucially, pay attention to your analytics. Which photos perform best? What types of dishes get the most saves or shares? Understanding your audience’s preferences will help you refine your strategy and produce more of the content they love, leading to greater engagement and more recipe page clicks.
Conclusion
Optimizing your visual bite photos is a continuous journey of learning and refinement. By focusing on fundamental techniques in lighting, composition, and styling, coupled with precise technical execution and strategic post-processing, you can create food imagery that truly resonates. Combine these visual strengths with compelling calls to action and smart platform utilization, and you’ll not only capture attention but effectively drive foodies from awe to action, making your recipes an irresistible destination.


