How to plate vibrant dishes for stunning food photography?
The Art of Plating for the Camera
In the world of food photography, a delicious dish is only half the battle. The other, equally crucial half, is how it’s presented. Plating isn’t just about making food look neat; it’s about storytelling, creating visual appeal, and guiding the viewer’s eye. For food photography, where every detail is magnified, mastering vibrant and appealing plating techniques is paramount to capturing truly stunning images.
This guide will walk you through the essential principles and practical tips to elevate your plating skills, ensuring your dishes don’t just taste good but look absolutely spectacular through the lens.
The Foundation: Color, Texture, and Height
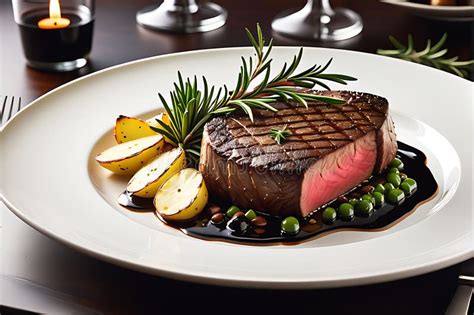
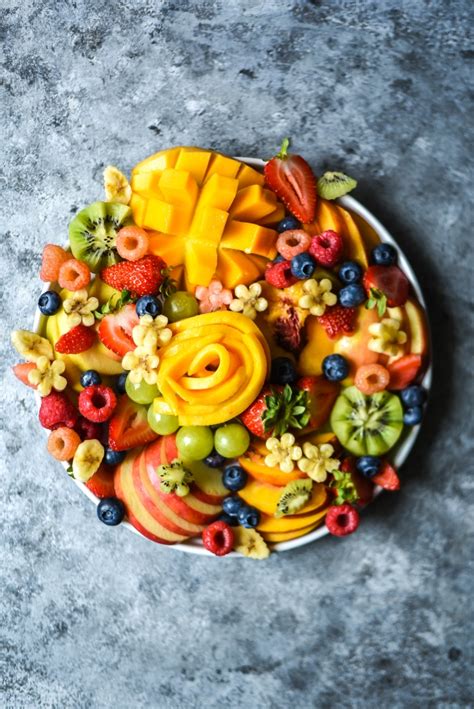
At the heart of vibrant plating lies a careful consideration of three key elements: color, texture, and height. A dish that incorporates a harmonious blend of these will inherently be more dynamic and visually interesting.
Color: Think about contrast and harmony. Bright, contrasting colors naturally draw the eye – consider a vibrant red tomato against a dark green basil leaf, or a rich yellow sauce on a white plate. Incorporate fresh herbs, colorful vegetables, or edible flowers to introduce natural pops of color. Avoid an overly monochromatic plate unless it’s intentionally styled for a minimalist look.
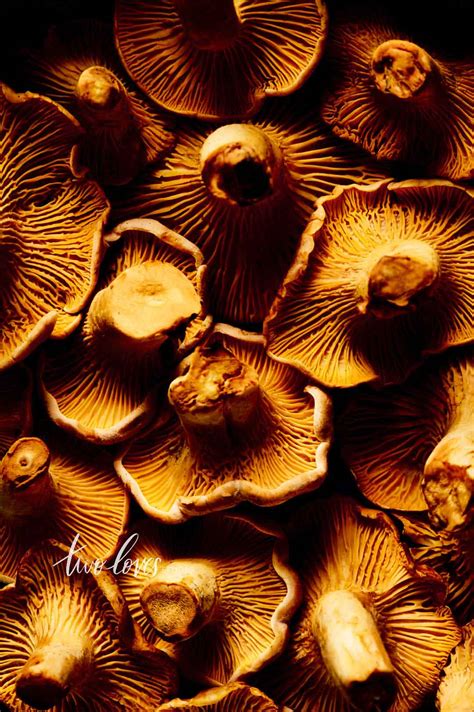
Texture: A variety of textures adds depth and intrigue. Imagine a smooth purée alongside crisp croutons, tender meat with crunchy nuts, or delicate pasta with a rustic crumble. Different textures catch light differently, creating visual interest and hinting at the tactile experience of eating.
Height: Flat dishes rarely photograph well. Adding height gives your dish dimension and a sculptural quality. This can be achieved by carefully stacking components (e.g., stacking pancakes, layering vegetables), leaning elements against each other, or mounding ingredients. A touch of elevation makes a dish feel more substantial and professional.
Mastering Composition and Negative Space
Beyond individual elements, how you arrange them on the plate is crucial. Effective composition guides the viewer’s gaze and creates a sense of balance. Popular compositional rules like the Rule of Thirds or leading lines can be applied to plating, positioning your main subject off-center and using garnishes to draw the eye towards it.
Negative Space: This refers to the empty areas on the plate. Don’t be afraid of it; negative space is your friend! It allows the eye to rest and prevents the dish from looking cluttered. A thoughtful use of negative space can make your main components stand out, emphasizing their beauty and giving them room to breathe. Aim for a clean, uncluttered presentation.
Tools and Techniques for Precision
Achieving a professional look often requires a few specialized tools and techniques:
- Squeeze Bottles: Perfect for creating precise dots, swirls, or lines with sauces and purées.
- Offset Spatulas: Ideal for spreading sauces evenly or carefully lifting delicate items.
- Tweezers: Essential for precise placement of small garnishes like microgreens, herbs, or edible flowers.
- Pastry Brushes: Can be used to brush oil or glaze onto certain components for added sheen, or to clean up plate edges.
Remember to always clean the edges of your plate with a damp cloth or cotton swab before shooting. A pristine plate elevates the entire presentation.
Elevating Your Dishes: Practical Tips
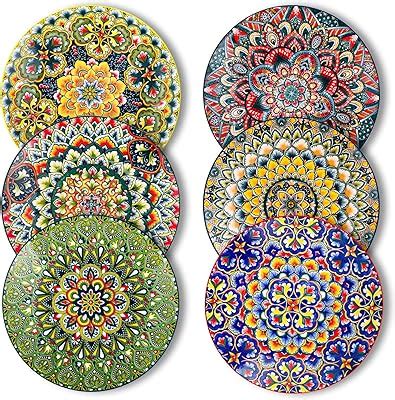
- Choose the Right Vessel: The plate or bowl is your canvas. White or neutral-colored plates often allow the food’s colors to pop. Consider the size and shape – don’t overcrowd a small plate, but don’t let a large plate dwarf your dish either.
- Build a Focal Point: Decide what the hero of your dish is and make it the star. Arrange supporting elements around it in a way that enhances rather than distracts.
- Think in Layers: Layering adds depth. Start with a base (e.g., a purée or grain), add your main protein, then vegetables, and finally garnishes.
- Use Odd Numbers: When arranging multiple similar items, odd numbers (e.g., 3 scallops, 5 asparagus spears) often look more natural and aesthetically pleasing than even numbers.

The Finishing Touches
Once the main elements are in place, it’s time for the final details that transform a good plate into a stunning one. A sprinkle of flaky sea salt, a drizzle of high-quality olive oil, a scattering of fresh herbs, or a few artfully placed microgreens can add that professional sheen. Remember, these should enhance, not overpower, the dish.
Practice is key! Start by trying to replicate plating styles you admire, then begin experimenting with your own creativity. The more you plate, the more intuitive it becomes to arrange elements in a way that’s both appealing to the eye and ready for its close-up. With these tips, you’re well on your way to creating visually irresistible dishes that make for truly stunning food photography.