How to style healthy, real food for tempting daily photos/meals?
Making Healthy Food Irresistible: The Art of Visual Appeal
In an age dominated by visual content, presenting your healthy, real food in an appealing way isn’t just for professional food bloggers anymore. Whether you’re sharing your culinary creations with friends online, tracking your meals for personal motivation, or simply wanting to make your everyday healthy dishes more exciting for yourself and your family, food styling plays a crucial role. It transforms a simple plate of nourishment into a feast for the eyes, making healthy eating more desirable and enjoyable.
But how do you make a salad look gourmet or a bowl of oatmeal Instagram-worthy? It’s simpler than you might think. With a few thoughtful techniques and a keen eye for detail, you can elevate your daily meals from ordinary to extraordinary, capturing their vibrant healthfulness in every shot.
Harness the Power of Natural Light
Good lighting is perhaps the single most important factor in food photography. It can make or break your photo. Natural, diffused light is your best friend. Avoid direct sunlight, which creates harsh shadows and overexposed highlights. Instead, place your food near a window, but out of direct sun. If the light is too strong, use a sheer curtain or a white sheet to diffuse it.
Pay attention to the direction of the light. Side lighting (light coming from the side) or backlighting (light coming from behind) often works best, highlighting textures and adding depth to your dishes. Front lighting can make food look flat and unappetizing. Experiment with angles and positions until you find the sweet spot that makes your food glow.
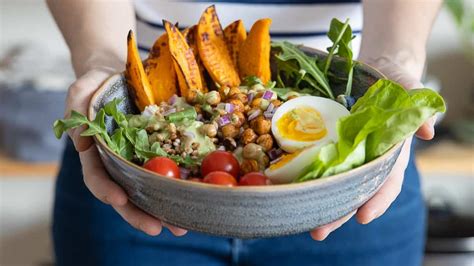
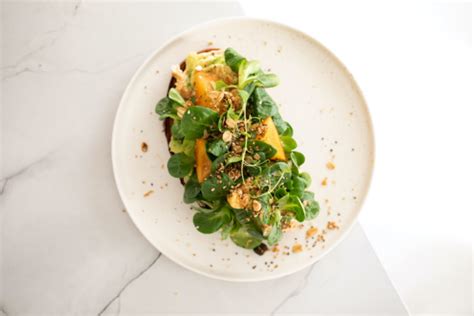
Plating with Purpose: Color, Texture, and Contrast
Think of your plate as a canvas. A visually appealing dish considers color, texture, and contrast. Healthy, real foods often boast a natural spectrum of colors – vibrant greens, rich reds, earthy browns. Use this to your advantage! Arrange elements so different colors pop against each other.
Varying textures adds interest. Think crisp lettuce, creamy avocado, crunchy nuts, and tender grilled chicken. Don’t just pile everything on; strategically place ingredients to create layers and visual pathways for the eye. Leave some negative space on the plate; an overloaded plate can look messy and unappetizing.
Embrace Simplicity with Props and Backgrounds
While the food is the star, the right props and background can enhance its story without distracting from it. Keep backgrounds simple and uncluttered. A wooden table, a plain linen napkin, or a neutral-colored cutting board can provide an excellent backdrop. Avoid busy patterns or overly bright colors that compete with your food.
For props, choose items that complement the dish and reinforce its healthy, wholesome vibe. Think rustic cutlery, small bowls of sauces or garnishes, a sprig of fresh herbs, or a glass of water. Less is often more; too many props can make the photo feel cluttered. Select items that have a story or a textural element, like a textured fabric napkin or a ceramic bowl.
Mastering Angles and Composition
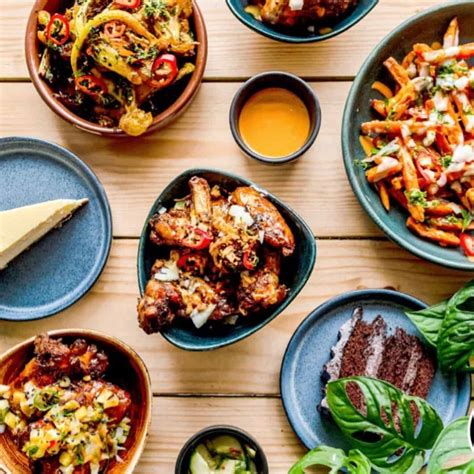
Experiment with different camera angles. An overhead shot (flat lay) works wonderfully for dishes with beautiful patterns or lots of small components, like a smoothie bowl or a spread of tapas. A 45-degree angle (eye-level) is great for showing off the height and layers of a dish, such as a stack of pancakes or a towering burger. A straight-on shot can be impactful for drinks or food in taller containers.
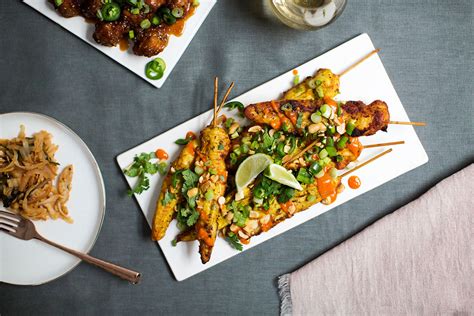
Consider the rule of thirds: mentally divide your image into nine equal sections with two horizontal and two vertical lines. Place key elements of your food where these lines intersect or along the lines themselves for a more dynamic and pleasing composition. Don’t be afraid to zoom in or crop to focus on a particular detail or texture.
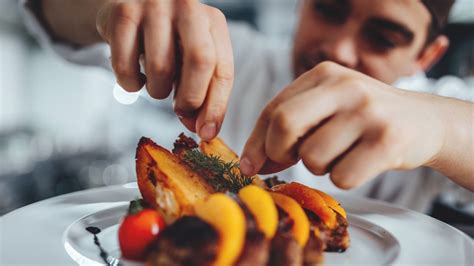
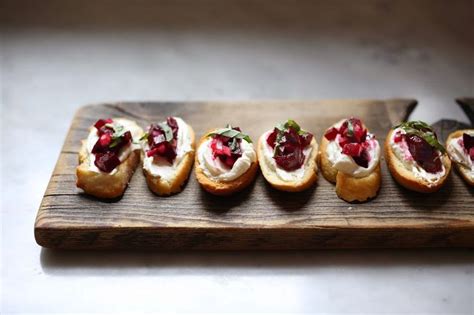
The Finishing Touches: Garnishes and Drizzles
Garnishes are like the jewelry for your food – they add sparkle and personality. A sprinkle of fresh herbs, a zest of citrus, a drizzle of olive oil, a dusting of spices, or a scattering of seeds can instantly elevate a dish. These small additions not only add visual appeal but often enhance the flavor too.
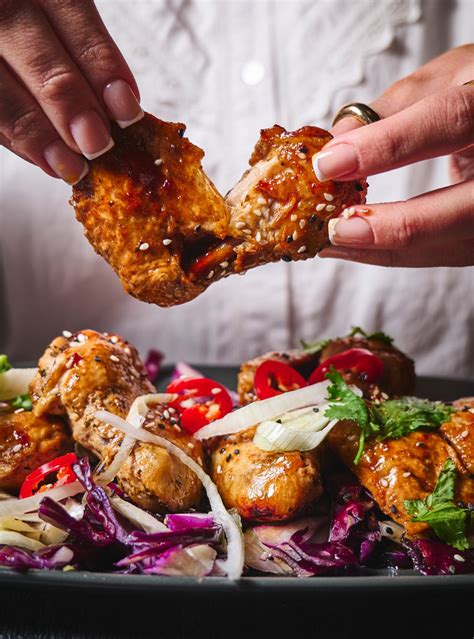
Consider the ‘freshness factor’ – a vibrant green leaf, a perfectly ripe berry, or a beautifully toasted nut can make a huge difference. Apply garnishes just before shooting to ensure they look their best and most vibrant. A light mist of water can also bring out the freshness of vegetables and fruits.
Practice Makes Perfect
Like any skill, food styling and photography improve with practice. Don’t be discouraged if your first few attempts aren’t perfect. Pay attention to what works and what doesn’t. Analyze food photos you admire and try to deconstruct why they are appealing. Most importantly, have fun with it! Styling your healthy, real food should be an enjoyable extension of your culinary journey, turning everyday meals into delightful visual experiences that tempt and inspire.