


How to visually elevate simple recipes for stunning food feeds?
Transforming Everyday Meals into Visual Feasts
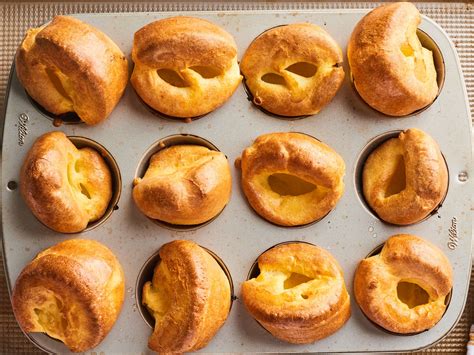
In the age of social media, our culinary creations aren’t just about taste – they’re about visual appeal. Even the simplest home-cooked meals can become viral sensations with a little thoughtful styling and photography. If your food feed is looking a little lackluster, fear not! Elevating your dishes for stunning visuals is easier than you think. This guide will walk you through practical tips to make your humble recipes shine like a professional chef’s masterpiece.
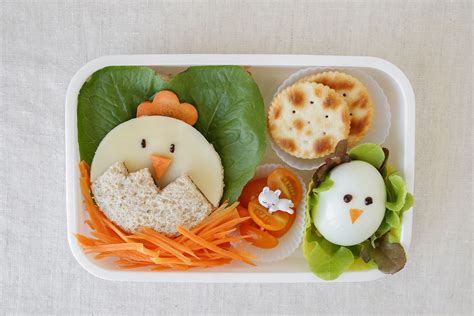
The Art of Plating and Garnishing
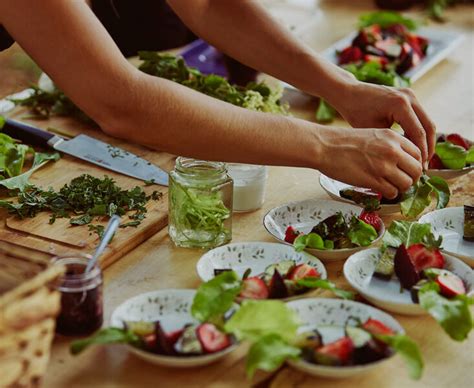
Presentation begins before the camera even comes out. Think of your plate as a canvas. Instead of haphazardly dumping food, consider arranging components intentionally. Create height with stacked ingredients, use a clean wipe for smudges on the plate rim, and ensure contrasting colors and textures are visible.
Garnishing is your secret weapon. Fresh herbs like parsley, cilantro, or rosemary instantly add vibrancy. A sprinkle of sesame seeds, a zest of citrus, a drizzle of olive oil, or a dollop of fresh yogurt can transform a dish from dull to dazzling. Remember, less is often more – a few carefully placed garnishes are far more effective than an overcrowded plate.
Harnessing the Power of Natural Light
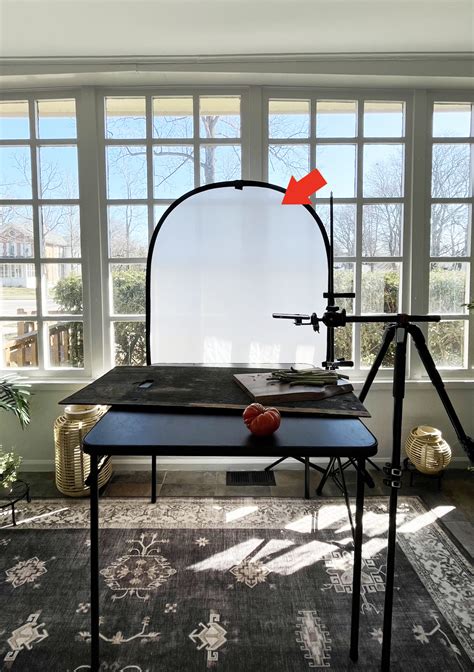
Lighting is the single most critical element in food photography. Forget artificial overhead lights or harsh flashes – they cast unflattering shadows and distort colors. Always opt for natural light, ideally near a window, but out of direct sunlight. Diffused light creates soft shadows and highlights, making your food look fresh and appetizing.
If the light is too bright, you can diffuse it with a sheer curtain or a piece of parchment paper. If one side of your dish is too dark, use a white foam board or a mirror as a reflector to bounce light back onto it, filling in shadows. Experiment with different times of day to see how the light changes the mood of your shot.
Choosing the Right Props and Backgrounds
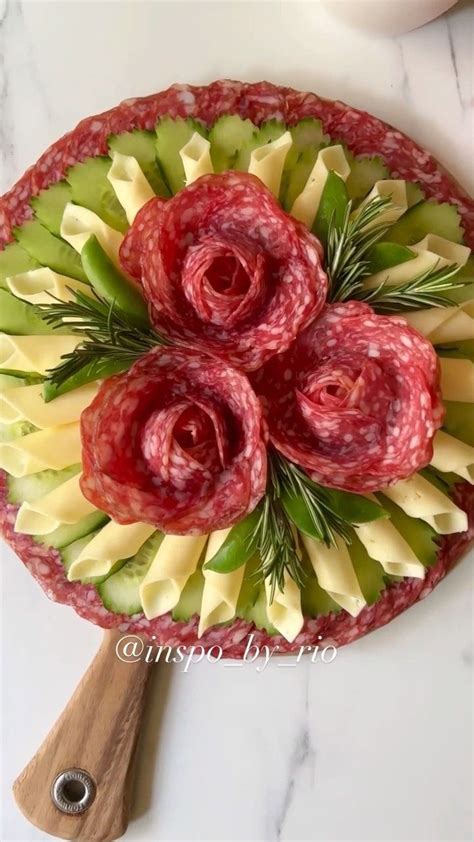
While the food is the star, the supporting cast of props and backgrounds can significantly enhance your visual story. Simple, uncluttered backgrounds work best, allowing your dish to stand out. Think plain wooden tables, white or grey linen napkins, or even a solid-colored cutting board.
Props should be subtle and relevant. A rustic fork, a delicate spoon, a small bowl of an accompanying sauce, or a hand holding a piece of bread can add context and a human element. Avoid overly distracting or shiny props that compete with your food. The goal is to create an inviting scene, not a cluttered one.
Mastering Angles and Composition
How you frame your shot can drastically change its impact. Popular angles for food include:
- Overhead (Flat Lay): Perfect for showing off a collection of dishes, patterned plates, or intricate toppings.
- 45-Degree Angle: Mimics how we naturally view our food, great for showing texture and depth.
- Eye-Level/Close-Up: Ideal for highlighting specific ingredients, layers, or steam rising from a hot dish, creating an intimate feel.
Consider the rule of thirds, placing your subject off-center for a more dynamic composition. Use negative space wisely to give your food room to breathe and draw the viewer’s eye. Experiment with leading lines (like cutlery) to guide attention towards your main subject.
Post-Processing Polish: Simple Edits for Impact
Even with great styling and lighting, a little post-processing can take your food photos to the next level. You don’t need complex software; many free apps offer powerful editing tools. Focus on these key adjustments:
- Brightness & Contrast: To make your image pop and colors stand out.
- Saturation: A slight boost can enhance natural food colors, but avoid over-saturating.
- White Balance: Corrects color casts, making whites truly white and ensuring colors are accurate.
- Sharpening: Adds crispness to details.
- Cropping & Straightening: Tidy up your composition and ensure horizons are level.
Subtle edits make a big difference. The goal is to enhance, not to alter beyond recognition. Your food should still look delicious and real.
Conclusion: Practice Makes Perfect
Elevating simple recipes for stunning food feeds is an achievable goal for anyone willing to experiment. Start with just one or two tips, like focusing on natural light or better plating, and gradually incorporate more techniques. Don’t be afraid to try different angles, props, and garnishes. The more you practice, the more intuitive food styling and photography will become, turning your everyday meals into scroll-stopping visual delights for everyone to enjoy.


