Quick tips to make healthy home-cooked meals photo-ready?

In today’s visually driven world, sharing your culinary creations online has become a common joy. But making a healthy, home-cooked meal look as good as it tastes can sometimes be a challenge. Fear not! You don’t need a professional studio to capture appetizing photos of your nutritious dishes. With a few quick tips and tricks, you can elevate your food presentation and photography game, making your healthy meals truly photo-ready.
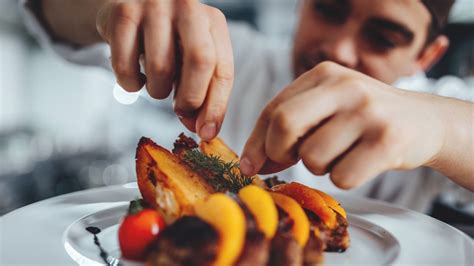
Mastering the Art of Plating
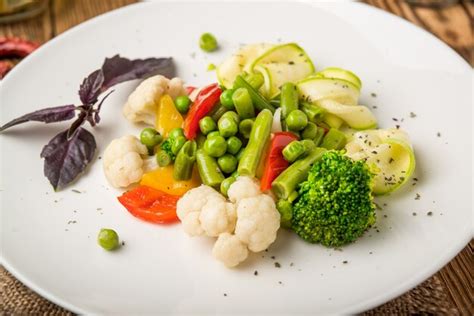
The foundation of a visually appealing dish lies in its plating. Think of your plate as a canvas. Start with a clean, unblemished plate, preferably a simple, neutral color that won’t compete with your food. Arrange your main protein first, then add sides, ensuring there’s a good balance of color, texture, and height. Don’t overcrowd the plate; leave some negative space to highlight key ingredients. A little bit of intentional asymmetry can often be more engaging than perfect symmetry.
Consider the ‘rule of odds’ where an odd number of items (e.g., three asparagus spears instead of two) often looks more natural and appealing. Create layers and textures, stacking ingredients neatly rather than spreading them flat. A sprinkle of fresh herbs or a drizzle of a contrasting sauce can add immediate visual interest and a professional touch.
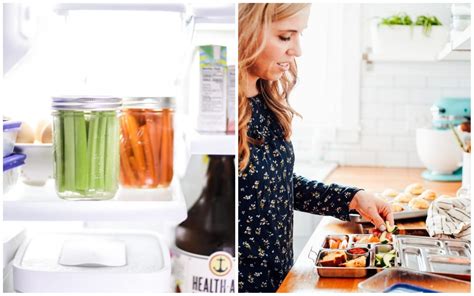
Lighting is Your Best Friend
Good lighting is paramount in food photography, and natural light is almost always the best choice for home cooks. Position your dish near a window, but avoid direct sunlight, which can create harsh shadows and blown-out highlights. Instead, opt for soft, diffused light, perhaps by using a sheer curtain or moving your dish slightly away from the direct beam.
Shoot from the side or slightly behind the dish (backlighting) to create a beautiful glow and highlight textures. If natural light isn’t available, a simple desk lamp with a white diffuser (like parchment paper) can mimic soft window light. Avoid using your camera’s built-in flash, as it tends to flatten images and create unflattering reflections.

Strategic Garnishing and Props
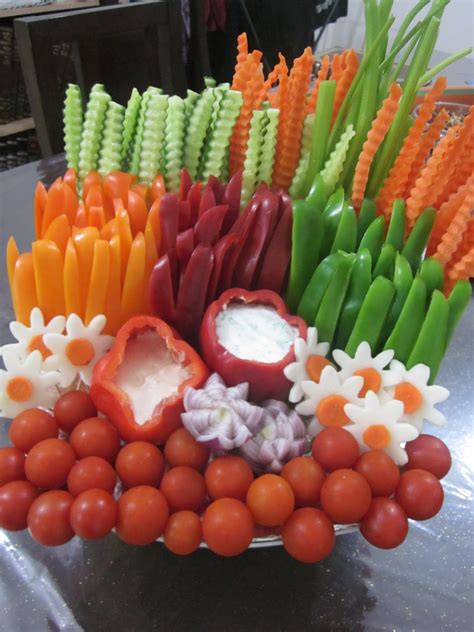
Garnishes aren’t just for restaurants; they can significantly enhance the visual appeal of your healthy meals. Fresh herbs like parsley, cilantro, or mint instantly add a pop of color and freshness. A sprinkle of toasted nuts, seeds, or chili flakes can introduce texture and a hint of vibrancy. A squeeze of citrus, a drizzle of olive oil, or a dollop of yogurt can also act as excellent, edible garnishes.
When it comes to props, less is often more. Choose simple, complementary elements that tell a story without distracting from the food. Think about a rustic linen napkin, a stylish fork, a small bowl of key ingredients, or a cutting board. The background should also be simple and uncluttered – a wooden table, a plain countertop, or a clean placemat works wonders.
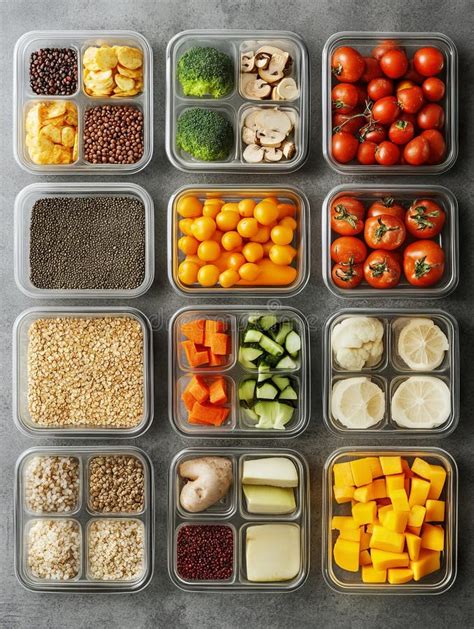
Choosing the Right Angles
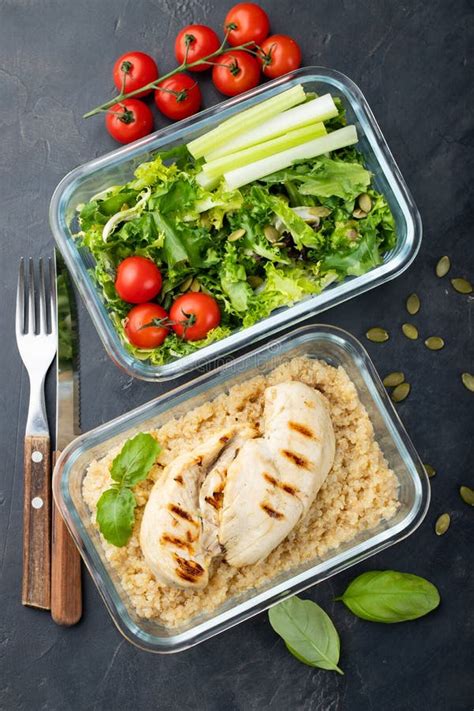
Experiment with different camera angles to find what best showcases your dish. The most common and effective angles for food photography are the overhead shot (or flat lay), the 45-degree angle, and the straight-on shot. An overhead shot is excellent for bowls, pizzas, salads, or dishes with beautiful patterns, as it shows everything on the plate.
The 45-degree angle is versatile and mimics how we typically view our food at a table, making it great for most dishes, especially those with some height. A straight-on shot works best for tall dishes like stacked burgers, layered cakes, or drinks, emphasizing their vertical appeal. Try different perspectives until you find the one that makes your healthy creation shine.
Quick Editing Enhancements
Even with the best preparation, a little post-processing can make a big difference. You don’t need complex software; many free apps on your phone offer excellent editing capabilities. Focus on subtle adjustments: correct the white balance to ensure colors are true to life, boost the exposure slightly if the image is too dark, and add a touch of contrast and saturation to make colors pop. A little sharpening can also enhance details.
Remember, the goal is to enhance, not to overhaul. Keep your edits natural, aiming to make your food look vibrant and appealing without appearing artificial. These small tweaks can significantly elevate the quality of your photos, making your healthy home-cooked meals truly irresistible.

By implementing these simple tips – focusing on plating, harnessing natural light, garnishing strategically, exploring angles, and refining with quick edits – you’ll be well on your way to capturing stunning, photo-ready images of your healthy home-cooked meals. So go ahead, cook up a storm, and share your delicious, nutritious masterpieces with the world!