Quickest plating tricks to make everyday meals look gourmet & photo-ready?
Ever wondered how professional chefs make even the simplest dishes look like works of art? The secret often lies not in complex cooking techniques, but in smart plating. With a few quick tricks, you can elevate your everyday meals from humble to haute cuisine, making them not only more appealing to eat but also perfectly photo-ready for sharing. Let’s dive into the easiest ways to make your home cooking shine.
The Power of Presentation: Why It Matters
They say we eat with our eyes first, and it’s true. A beautifully plated dish stimulates the appetite and enhances the dining experience, making food taste even better. It’s about creating an experience, even for a Tuesday night dinner. Good presentation also reflects care and attention, turning a mundane meal into a special occasion.
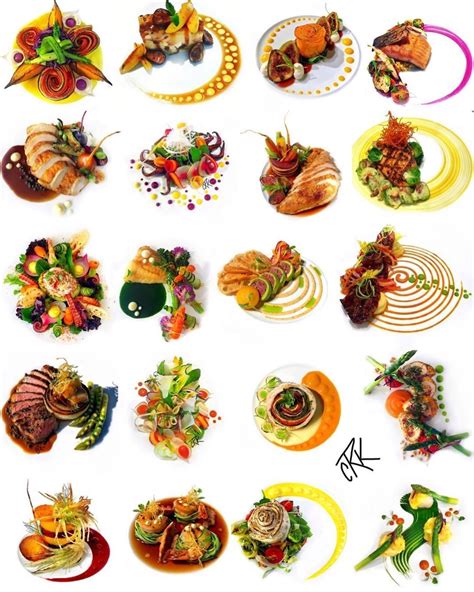
Essential Plating Techniques for Instant Elegance
You don’t need a culinary degree to master these basic principles:
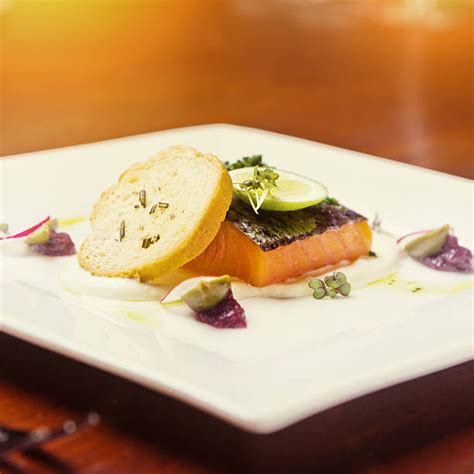
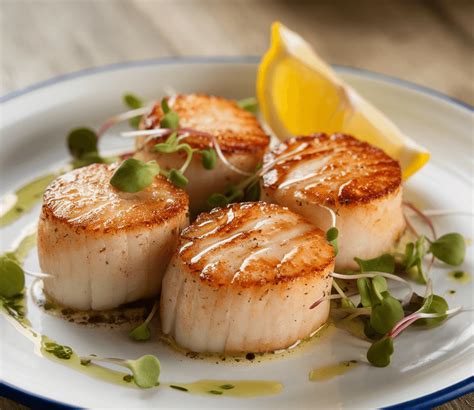
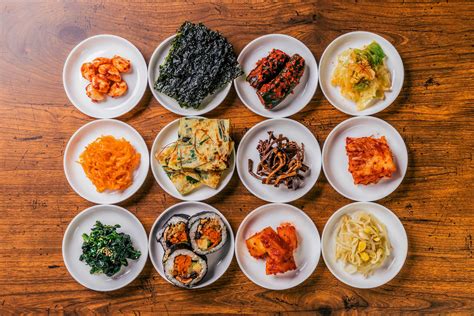
- The Rule of Odds & The Rule of Thirds: Arrange components in odd numbers (e.g., three asparagus spears instead of two) for a more natural, appealing look. For the overall plate, imagine your plate divided into thirds horizontally and vertically. Place the main protein in one section, the starch in another, and vegetables in the third.
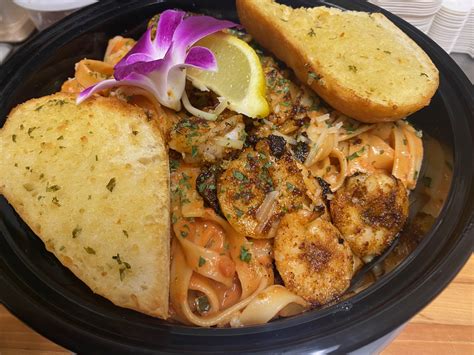
- Create Height: Don’t just spread everything flat. Stack elements, lean them against each other, or pile them gently to add dimension. A mound of rice or pasta topped with your main ingredient instantly looks more substantial.
- Clean the Edges: Before serving, always wipe the rim of your plate with a clean cloth. Stray drips or smudges can ruin an otherwise perfect presentation.
Choose Your Canvas Wisely
The plate itself plays a huge role. Simple, plain plates (white or neutral colors) allow the food to be the star. Consider the size – don’t overcrowd a small plate, but also don’t make a small portion look lonely on a giant plate. Round plates are classic, but squares or rectangles can offer a modern touch. Use contrasting colors between the food and the plate to make elements pop.
Garnish for Glory (Quick & Easy)
A garnish isn’t just decoration; it adds freshness, flavor, and texture. The quickest garnishes are often the most effective:
- Fresh Herbs: A sprig of parsley, cilantro, dill, or basil adds vibrant green and an aromatic finish.
- A Drizzle: A swirl of olive oil, a balsamic glaze, or a creamy sauce can beautifully tie a dish together.
- Citrus Zest/Wedge: A squeeze of lemon or lime brightens flavors and adds a pop of color.
- Toasted Seeds/Nuts: A sprinkle of sesame seeds, chopped nuts, or even croutons adds texture and a professional touch.

The Finishing Touches & Photo Prep
Once your dish is plated, a few final adjustments can make all the difference, especially for photos:
- Sauce Art: Instead of pouring sauce all over, try spooning it underneath, creating a small pool, or making artistic dots or swirls around the plate.
- Natural Light is Your Friend: For photos, always use natural light near a window. Avoid harsh overhead lighting or flash.
- Angles Matter: Experiment with different angles – overhead shots work great for bowls and symmetrical dishes, while a 45-degree angle can highlight height and depth.
- Zoom In: Get close to your food to showcase texture and detail.

Practice Makes Perfect (and Fun!)
Don’t be afraid to experiment! Start with one or two techniques and gradually incorporate more. Plating should be enjoyable, not stressful. Soon, you’ll find yourself intuitively arranging food beautifully, turning every meal into a feast for the eyes and a delight for the camera. Happy plating!