


Specific Visual Bites camera settings for crisp, appetizing food texture?
Unlocking Appetizing Food Texture with Visual Bites Camera Settings
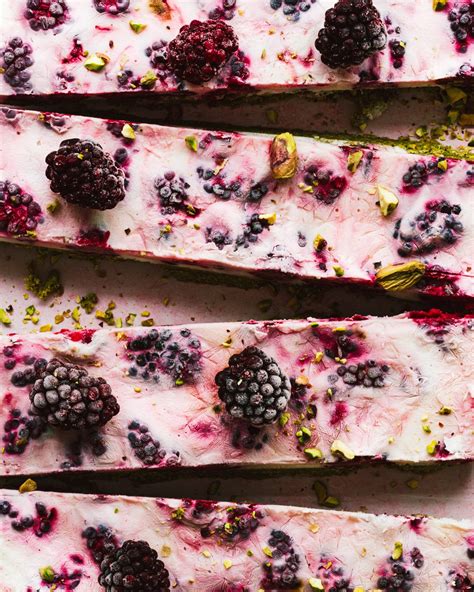
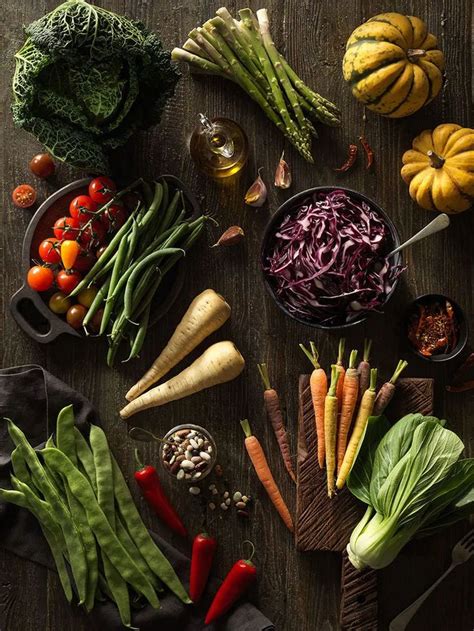
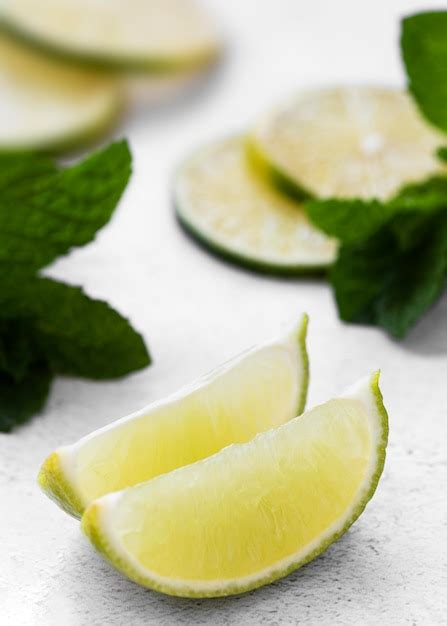
In the realm of food photography, mere presentation isn’t enough; it’s the tactile qualities—the crispness of a crust, the delicate flakiness of pastry, the glistening sheen of a sauce—that truly ignite the appetite. Capturing these nuanced textures with precision transforms a good food photo into an irresistible Visual Bite. This guide delves into the specific camera settings and techniques essential for bringing out every delectable detail.

The Holy Trinity: Aperture, Shutter Speed, and ISO
Achieving tack-sharp texture begins with mastering the exposure triangle.
Aperture (f-stop): The Key to Depth and Detail
For capturing crisp textures, a sweet spot for aperture is often around f/5.6 to f/11. While shallower apertures (e.g., f/1.8-f/4) create beautiful bokeh, they can render too much of your food out of focus, losing the textural story. A slightly narrower aperture ensures more of your subject, particularly its surface details, remains in sharp focus. Experimentation is key, as the desired depth of field depends on your subject and composition.
Shutter Speed: Eliminating Blur, Enhancing Clarity
When shooting stationary food, shutter speed is less about freezing motion and more about preventing camera shake. A good rule of thumb is to use a shutter speed that is at least the reciprocal of your focal length (e.g., 1/100s for a 100mm lens). However, when mounted on a tripod, you have the flexibility to use slower shutter speeds to compensate for narrower apertures or lower ISO, ensuring maximum sharpness without increasing noise.
ISO: Minimizing Grain, Maximizing Cleanliness
To preserve the integrity of fine textures, keep your ISO as low as possible, ideally ISO 100 or 200. Higher ISOs introduce digital noise, which can soften details and make textures appear grainy or muddy. Always prioritize good lighting to avoid the need for higher ISO settings.

The Power of Light: Sculpting Texture
Light is the ultimate sculptor of texture. Without it, even the sharpest settings will fall flat.
Directional Lighting for Drama and Detail
Side lighting or backlighting are your best friends for accentuating texture. Light hitting the food from an angle casts subtle shadows that highlight irregularities, ridges, and surfaces, making them pop. Avoid harsh frontal flash, which tends to flatten textures and create undesirable reflections.
Diffused Light: Softening Yet Defining
While directional light is crucial, ensure it’s diffused to avoid overly harsh shadows. Use softboxes, diffusers, or even a sheer curtain to spread the light source. This creates a more pleasing, natural look while still maintaining the textural definition.
Lens Choices and Focusing Techniques
Lenses for Detail
Macro lenses are unparalleled for capturing intricate food textures. Their ability to focus very close allows you to fill the frame with fine details. Alternatively, sharp prime lenses (e.g., 50mm, 85mm) can also yield excellent results, especially when paired with extension tubes for closer focusing.
Precision Focusing
Manual focus can offer greater precision when you need to pinpoint the sharpest area of your texture. When using autofocus, ensure your focus point is precisely on the most important textural element you wish to highlight. For exceptionally challenging subjects, consider focus stacking, a technique where multiple images are taken at different focal points and combined in post-processing to achieve ultimate sharpness throughout.
Post-Processing for Texture Enhancement
While most of the work happens in-camera, a touch of post-processing can further elevate texture.
- Clarity and Dehaze: These sliders in editing software (like Adobe Lightroom or Photoshop) can subtly enhance mid-tone contrast, making textures appear more defined without over-sharpening.
- Sharpening: Apply sharpening judiciously. Over-sharpening can introduce halos and an unnatural look. Focus on local sharpening to specific areas where texture is paramount.
- Contrast: A slight increase in contrast can also help textures stand out.

Conclusion: Practice and Observation
Mastering the art of capturing crisp, appetizing food texture is a journey of practice and observation. Pay attention to how different lighting conditions affect various food surfaces. Experiment with your aperture, shutter speed, and ISO settings. With dedication to these specific camera settings and techniques, your Visual Bites will not only look delicious but feel truly inviting, drawing viewers in for a taste.


