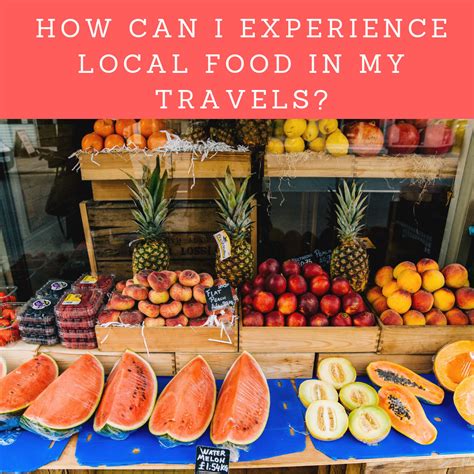
Tips for capturing drool-worthy food adventure photos with natural light?

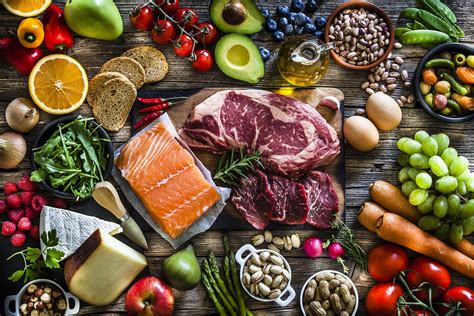
Embarking on a food adventure is about more than just tasting; it’s about experiencing the culture, the atmosphere, and the visual delight of each dish. To truly capture these “drool-worthy” moments, natural light is your best friend. It enhances textures, colors, and the overall appeal of your culinary captures without the harshness of artificial flashes. Here’s how to master natural light for your next edible expedition.
Embrace the Golden Hour and Diffused Light
The secret to stunning food photos often lies in the quality of light. The “golden hour”—the period shortly after sunrise or before sunset—offers soft, warm, and flattering light that can make any dish look magnificent. If golden hour isn’t an option, seek out diffused light. Overcast days provide a giant softbox, or you can find open shade under a building or tree. Avoid harsh, direct midday sun, which creates unflattering shadows and blown-out highlights, making your food look less appetizing.
Strategic Positioning is Key
Once you’ve found good light, how you position your food makes all the difference. When indoors, look for a window. Placing your dish near a window allows for beautiful sidelight or backlight, creating depth and highlighting textures. If outdoors, find a spot where the light hits your food from the side or slightly behind, rather than directly from the front. This adds dimension and avoids a flat image. Experiment with different angles relative to your light source.
Mastering Composition and Angles
Composition transforms a simple snapshot into a captivating image. Utilize principles like the rule of thirds, placing your main dish off-center for a more dynamic shot. Leading lines (cutlery, placemats, table edges) can guide the viewer’s eye. Don’t be afraid to get close to capture intricate details, or pull back to show the environment, telling a broader story of your adventure. Experiment with overhead shots (flat lays), 45-degree angles, and eye-level perspectives, as each can highlight different aspects of the dish.

Keep Backgrounds Clean and Story-Driven
While the food is the star, the background plays a crucial supporting role. A cluttered or distracting background can detract from your delicious subject. Aim for simplicity: a plain table, a textured wall, or even the natural environment blurred out. However, sometimes the background is part of the story – a bustling market, a charming cafe, or a scenic landscape. Use a wide aperture (if your camera allows) or position yourself carefully to create a shallow depth of field, blurring the background and making your food pop.
Simple Styling and Props (Even on the Go)
You might not have a full styling kit on your food adventure, but small touches can elevate your photos. A few fresh herbs, a sprinkle of spices, a strategically placed napkin, or a beautiful piece of local pottery can add visual interest. Ensure plates are clean and sauces are artfully arranged. Sometimes, the most natural styling is simply presenting the food as it arrives, perhaps with a bite taken out, to show its deliciousness and evoke a sense of authenticity.
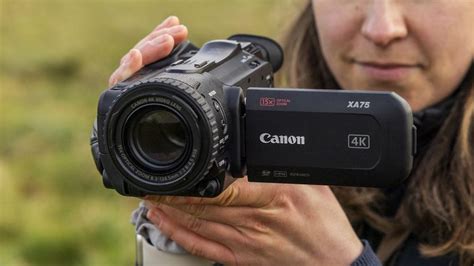
Basic Camera Settings for Natural Light
If using a camera beyond your smartphone, a few settings can optimize natural light.
- Aperture: A lower f-number (e.g., f/1.8 – f/4) creates a shallow depth of field, blurring backgrounds beautifully.
- ISO: Keep ISO as low as possible (100-400) to minimize grain, especially in well-lit natural environments.
- White Balance: Set your white balance manually (e.g., “cloudy” for overcast days, “shade” for shaded areas, or experiment with Kelvin) to accurately capture the true colors of your food. Auto white balance can sometimes misinterpret mixed lighting.
Even with a smartphone, leverage portrait mode for background blur and tap to focus on the food, adjusting exposure with the slider.
Subtle Post-Processing for Polish
Even the best natural light photos can benefit from a little polish. Use editing apps (like Lightroom Mobile, Snapseed, or your phone’s built-in editor) to make subtle adjustments:
- Crop and Straighten: Refine your composition.
- Exposure and Contrast: Brighten slightly and add a touch of contrast to make colors pop.
- Highlights and Shadows: Recover detail in overly bright or dark areas.
- White Balance: Adjust if the colors look off.
- Sharpening: A touch of sharpening can enhance textures.
Remember, the goal is enhancement, not drastic alteration, to maintain the natural appeal.
Practice, Experiment, and Enjoy!
The best way to improve is to keep shooting. Don’t be afraid to experiment with different angles, light sources, and compositions. Every dish and every location offers a unique opportunity. Most importantly, remember to enjoy the food adventure itself. The photos are a wonderful way to relive those delicious memories, but the experience is paramount.
By harnessing the power of natural light and applying these tips, you’ll soon be capturing food photos that not only look incredible but also tell the rich story of your culinary journeys, making every viewer’s mouth water.