Unlock perfectly golden, crispy skin on roast chicken for wow-factor meals?

The Quest for Crispy Perfection
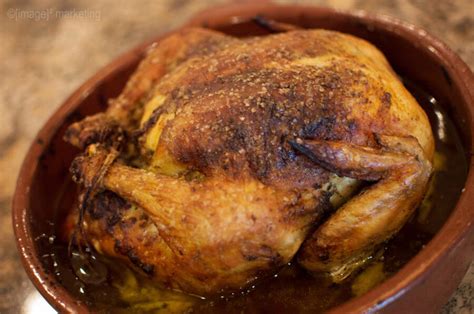
There’s something uniquely satisfying about a beautifully roasted chicken. While the juicy meat is always a treat, it’s often the lure of that gloriously golden, audibly crispy skin that truly elevates the experience. It’s the crowning glory, the ultimate reward for your culinary efforts. But how do you consistently achieve that sought-after crunch without drying out the meat or ending up with flabby, pale skin? It’s simpler than you might think, with a few key techniques making all the difference.
Start with the Right Foundation: Dryness is Key
Moisture is the enemy of crispiness. Before you even think about seasoning, ensure your chicken is as dry as possible. After removing it from its packaging, pat the entire bird thoroughly with paper towels, both inside and out. For an even better result, place the chicken on a wire rack set over a baking sheet and refrigerate it, uncovered, for at least a few hours, or even overnight. This allows the skin to air-dry further, helping to evaporate surface moisture and set the stage for maximum crispness.
Fat, Flavour, and Farewell to Flab
Once your chicken is bone-dry, it’s time for fat and seasoning. Rubbing the chicken all over with a good quality fat is crucial. Olive oil, melted butter, or even duck fat all work wonderfully, helping to conduct heat and crisp the skin. Don’t be shy! Gently separate the skin from the breast meat with your fingers and rub some fat directly onto the meat underneath for extra moisture and flavor. Season generously with salt and pepper, and any herbs or spices you prefer. Salt not only adds flavor but also helps to draw out remaining moisture, contributing to crispness.
Temperature Tactics: High Heat, Then Low
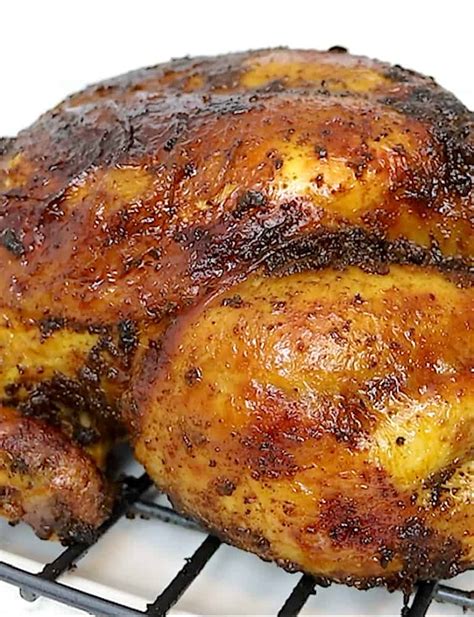
The cooking temperature plays a pivotal role. Many chefs swear by starting with a high temperature, typically 400-425°F (200-220°C), for the first 15-20 minutes. This initial burst of heat helps to aggressively render the fat under the skin and kickstart the browning process. After this initial blast, reduce the oven temperature to a moderate 375°F (190°C) for the remainder of the cooking time. This allows the chicken to cook through gently without burning the skin, maintaining that crispy texture.

The Power of the Roast: Avoiding Steam
To ensure crispy skin, it’s vital to allow air circulation around the chicken during roasting. Roasting the chicken on a wire rack set inside a roasting pan prevents the bottom of the chicken from steaming in its own juices, which would result in soggy skin. If you don’t have a rack, you can create a makeshift one with chopped vegetables like carrots, celery, and onions, which also add flavor to any pan drippings.
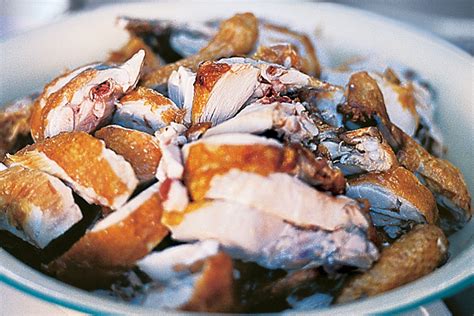
The Final Act: Resting Your Masterpiece
Once your chicken reaches its internal temperature (165°F or 74°C in the thickest part of the thigh, not touching bone), remove it from the oven and transfer it to a cutting board. Tent it loosely with foil and let it rest for at least 15-20 minutes before carving. This resting period allows the juices to redistribute throughout the meat, resulting in a more tender and moist chicken. Crucially, it also gives the skin a final chance to crisp up and firm, ensuring it stays beautifully crackling when you serve it. With these techniques, you’re well on your way to consistently creating a roast chicken that will earn you rave reviews and become a true ‘wow-factor’ meal.