


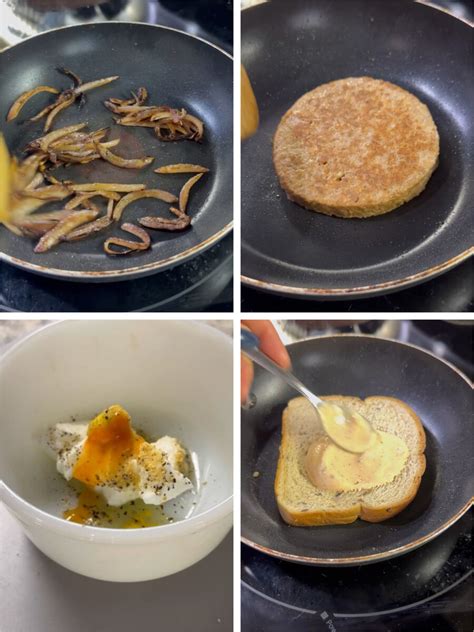
Visual guide: How to perfectly sear proteins for an irresistible crust? #SearingTips

Unlock the Secret to a Restaurant-Quality Sear
Achieving that coveted golden-brown, crispy crust on your proteins isn’t just for professional chefs. With a few key techniques and a bit of patience, you can transform your everyday meals into culinary masterpieces. This guide will walk you through the science and the steps to perfectly sear everything from steak to chicken, ensuring a mouth-watering exterior and a tender, juicy interior every time.
Understanding the Maillard Reaction: The Science of Searing
The magic behind that irresistible crust is a chemical process called the Maillard reaction. This complex reaction occurs when amino acids and reducing sugars in food react under heat, creating hundreds of new flavor compounds and the beautiful browning we associate with perfectly cooked food. Searing isn’t just about heat; it’s about creating the ideal conditions for this reaction to flourish.
For the Maillard reaction to work its wonders, several factors are crucial: high heat, a dry surface, and the presence of fats or oils. Without proper attention to these elements, you’ll end up steaming your protein instead of searing it, missing out on that deep flavor and appealing texture.

Essential Tools for Perfect Searing
While the technique is key, having the right equipment makes the process significantly easier and more consistent. Here’s what you’ll need:
- Heavy-Bottomed Pan: A cast iron skillet or a heavy stainless steel pan is ideal. Their ability to retain and distribute heat evenly is crucial for a consistent sear.
- High Smoke Point Oil: Avocado, grapeseed, or canola oil are excellent choices. Olive oil has a lower smoke point and can burn, imparting a bitter flavor.
- Tongs or Spatula: For safely handling the protein in a hot pan.
- Paper Towels: Essential for patting your protein dry.

The Step-by-Step Searing Process
Step 1: Prep Your Protein
This is arguably the most critical step. Pat your protein (steak, chicken, fish, etc.) thoroughly dry with paper towels. Any moisture on the surface will create steam, preventing the Maillard reaction and a good crust. Season generously with salt and pepper, or your preferred spice rub, just before searing.
Step 2: Heat the Pan
Place your heavy-bottomed pan over high heat. Let it heat up for several minutes until it’s very hot, almost smoking. You can test by flicking a few drops of water into the pan; if they evaporate instantly, it’s ready.
Step 3: Add Oil
Add just enough high smoke point oil to lightly coat the bottom of the pan. The oil should shimmer, but not smoke excessively. If it starts to smoke too much, reduce the heat slightly.
Step 4: Place the Protein
Carefully place your protein into the hot pan, laying it away from you to avoid splashes. Do not overcrowd the pan; cook in batches if necessary. Overcrowding lowers the pan’s temperature and prevents proper searing.
Step 5: Resist the Urge to Move
Once the protein is in the pan, leave it undisturbed! Let it cook for several minutes. The protein will naturally release from the pan when a beautiful crust has formed. Trying to move it too soon will tear the crust.
Step 6: Flip and Finish
Once a deep golden-brown crust has formed on the first side (typically 2-5 minutes depending on protein thickness and heat), flip it. Continue searing on the second side. For thicker cuts, you might transfer the pan to a preheated oven to finish cooking through after searing both sides. Always use a meat thermometer to ensure safe internal temperatures.

Common Searing Mistakes to Avoid
- Not Patting Dry: The number one culprit for a lack of crust.
- Cold Pan: Insufficiently hot pan leads to steaming, not searing.
- Overcrowding: Lowers pan temperature and traps moisture, preventing browning.
- Too Much Oil: Can lead to greasy results and uneven cooking.
- Moving Too Soon: Patience is a virtue; let the crust develop!
Conclusion
With these visual guidelines and techniques, you’re well on your way to mastering the art of searing proteins. Practice makes perfect, so don’t be discouraged if your first attempt isn’t flawless. Soon, you’ll be creating dishes with an irresistible crust and rich flavor that will impress everyone at your table.


