What budget lighting/angles make DIY Visual Bites look gourmet for foodies?

Elevate Your Edible Art: The Power of Visual Bites
In the vibrant world of foodies, a dish is often tasted first with the eyes. Whether you’re a home cook sharing creations on social media, a burgeoning food blogger, or simply passionate about plating, making your DIY visual bites look gourmet doesn’t require an arsenal of expensive equipment. With a few clever lighting tricks and strategic angles, you can elevate your culinary snapshots from homemade to haute cuisine.
Mastering Natural Light: Your Best Free Resource
The secret ingredient to many stunning food photos is often the simplest: natural light. Think of it as your most powerful, yet free, softbox. Position your food near a large window, ideally one that isn’t in direct sunlight, as harsh rays can create unflattering shadows and blown-out highlights. An overcast day is a photographer’s dream, offering beautifully diffused light.
To control and soften the light even further, use a simple white bedsheet or a sheer curtain as a diffuser if the sun is too strong. For filling in shadows and adding a subtle glow, a piece of white foam board, a plain white poster board, or even aluminum foil (crinkled then smoothed for softer reflection) can act as an effective reflector. Place it opposite your light source to bounce light back onto your dish, making it appear brighter and more inviting.
DIY Artificial Lighting for Consistent Results
When natural light isn’t an option, budget-friendly artificial solutions can step in. A simple desk lamp with a warm or neutral LED bulb can work wonders. To diffuse its harsh light, tape a piece of parchment paper or a thin white cloth over the lamp head (ensuring it doesn’t get too hot). For a more advanced DIY setup, consider an affordable LED panel from an electronics store or even a ring light designed for selfies – many come with adjustable brightness and color temperature.
Experiment with positioning your light source. Side lighting (light coming from the side) or backlighting (light coming from behind the food) often yields the most dramatic and appealing results, highlighting textures and creating depth. Always use a diffuser and a reflector, even with artificial light, to avoid harshness and create that coveted soft, even illumination.
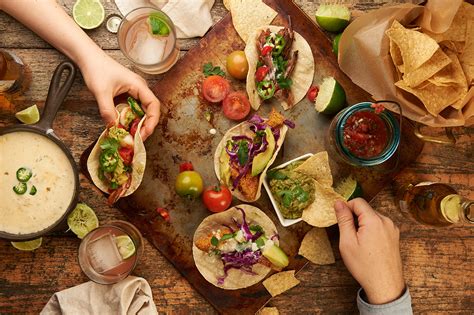
Angles that Speak Volumes: From Flat Lay to Close-Up
The right angle can transform a good dish into a gourmet visual. Here are the top angles to experiment with:
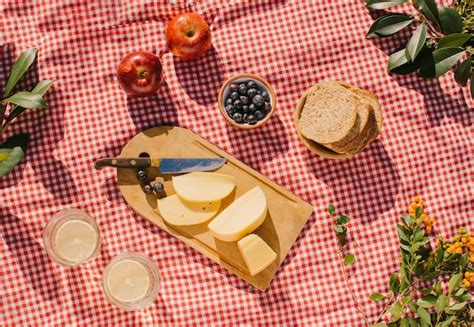
- The Overhead (Flat Lay): Perfect for dishes with beautiful tops, intricate garnishes, or when you want to showcase an entire spread. Position your camera directly above the food, parallel to the table. This angle is great for telling a story with props.
- The 45-Degree Angle: Mimics how we naturally view a plate when seated. It’s versatile for almost any dish, offering a balanced view of the food’s top and side profile. This angle works exceptionally well for dishes with some height, like burgers, cakes, or stacked pancakes.
- The Straight-On (0-Degree) Angle: Ideal for showcasing the layers and height of a dish. Think of a beautifully crafted burger, a towering dessert, or a drink. It gives a sense of intimacy and presence, making the viewer feel like they’re right there at the table.
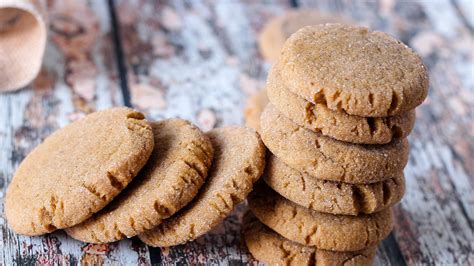
- The Close-Up / Macro: Dive into the delicious details! This angle highlights textures, individual ingredients, and the mouth-watering appeal of your dish. It creates a powerful sensory experience, making viewers crave a bite.
Beyond Light and Angles: Composition and Styling Tips
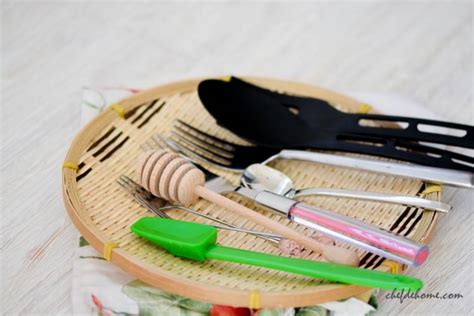
While lighting and angles are crucial, don’t overlook the power of composition and subtle styling. Use simple, uncluttered backgrounds (a plain tablecloth, a wooden board, or a neutral-colored surface). Incorporate minimalistic props like a fork, a napkin, a sprig of herb, or a small glass of water to add context and visual interest without distracting from the food.
Think about the ‘rule of thirds’ – imagine dividing your shot into a 3×3 grid and placing your main subject along the lines or at their intersections for a more dynamic image. Pay attention to negative space; sometimes, less is more. By combining thoughtful lighting, strategic angles, and simple styling, your DIY visual bites will consistently look gourmet, enticing fellow foodies with every scroll.