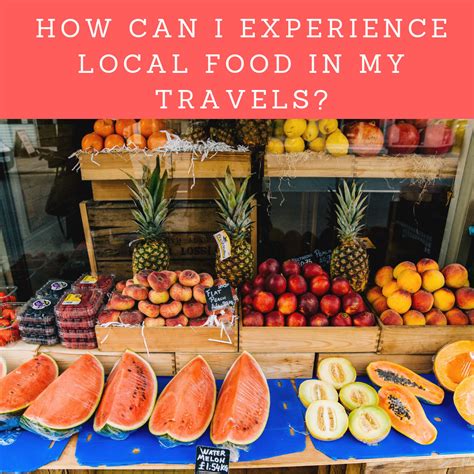
What gear & techniques ensure your food adventure photos always look pro, even in low light?
The Essential Gear for Culinary Explorations
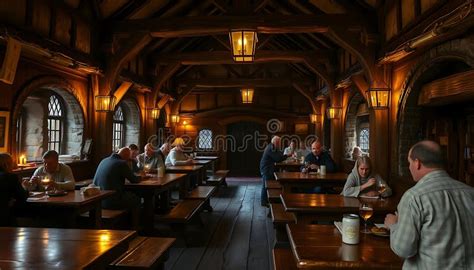
Embarking on a food adventure often means navigating dimly lit restaurants, bustling night markets, or cozy cafes with moody ambiance. To ensure your photos always look professional, even when light is scarce, starting with the right equipment is crucial. A mirrorless or DSLR camera body with excellent high-ISO performance is your best friend, allowing you to capture detail with minimal noise in challenging conditions. Look for models renowned for their low-light capabilities.
Lenses play an equally significant role. Fast prime lenses (e.g., f/1.2, f/1.4, f/1.8) are indispensable. Their wide apertures allow a maximum amount of light to hit the sensor, enabling faster shutter speeds and lower ISOs, resulting in sharper images with beautiful background blur. A versatile zoom lens with a constant wide aperture (e.g., f/2.8) can also be useful for capturing different perspectives in varied environments.

Stability is key in low light, making a lightweight, portable tripod or monopod an essential piece of kit. Even a small tabletop tripod can make a huge difference in achieving sharp shots with slower shutter speeds. This allows you to keep your ISO low, preserving image quality. When a tripod isn’t feasible, leaning against a wall or using a table for support can provide much-needed stability.
Consider packing a small, portable LED light panel. These can provide a gentle, controllable light source to fill shadows or illuminate your subject subtly without disturbing the atmosphere. Diffusers and reflectors can also help shape available light, bouncing it where needed or softening harsh spotlights.
Mastering Low-Light Techniques for Food Adventures
Beyond the gear, knowing how to wield it in low light is what truly elevates your photography. Understanding the exposure triangle (ISO, aperture, shutter speed) is fundamental. In low light, you’ll often need to open your aperture wide (low f-number), increase your ISO sensitivity, or slow down your shutter speed. The goal is to find a balance that captures enough light without introducing too much noise (high ISO) or motion blur (slow shutter speed).
Utilize available light to your advantage. Look for windows, doorways, or even streetlights that can provide a natural light source. Position your food strategically to capture that beautiful soft light, often from the side or slightly behind your subject, to create depth and texture. Avoid direct overhead lighting which can create harsh shadows.

Composition remains paramount. Apply principles like the rule of thirds, leading lines, and creating depth with foreground and background elements. In low light, a shallow depth of field (achieved with wide apertures) can help isolate your delicious subject from a busy or dark background, drawing the viewer’s eye exactly where you want it.
Achieving sharp focus in low light can be challenging. Many cameras struggle with autofocus in very dim conditions. Learn to use manual focus, or utilize your camera’s focus peaking feature if available. Focusing on the most important element of your dish – perhaps a garnish or the texture of a sauce – ensures your subject is crisp and appealing.
Pay close attention to white balance. Low-light environments often have mixed or artificial lighting that can cast unwanted color casts. Setting your white balance correctly in-camera or shooting in RAW format gives you the flexibility to correct colors accurately in post-processing, ensuring your food looks true to life.
Beyond the Basics: Enhancing Your Food Story
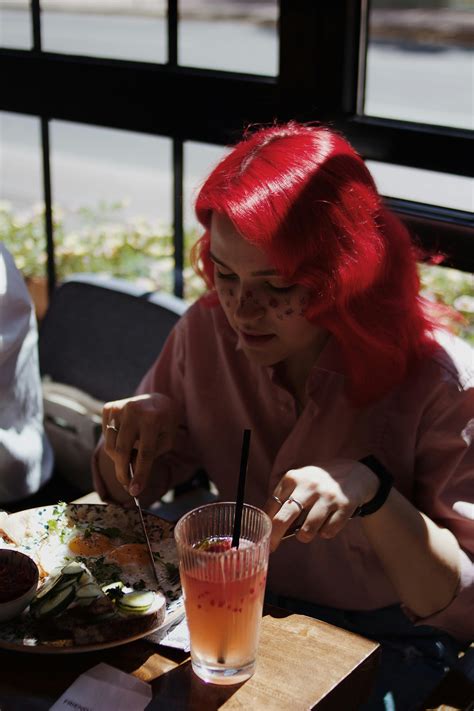
Professional food adventure photography isn’t just about the dish; it’s about the story. Capture the atmosphere, the hands preparing the food, or the excited faces of fellow diners. These elements add context and bring your culinary journey to life. Use a wider shot to establish the scene, then zoom in for mouth-watering details.
Finally, post-processing is where the magic happens. Shooting in RAW allows for significant adjustments to exposure, shadows, highlights, and color without compromising image quality. Software like Adobe Lightroom or Capture One can transform a good shot into a great one, enhancing sharpness, reducing noise, and finessing colors to make your food truly pop. Even minor adjustments can make a world of difference in low-light captures.
Mastering food adventure photography in low light is a blend of having the right gear, understanding fundamental techniques, and embracing creative problem-solving. By investing in fast lenses, utilizing stabilization, leveraging available light, and refining your shots in post-processing, you’ll consistently capture professional-quality images that do justice to your delicious discoveries, no matter how dim the setting.