


What recipe prep steps enhance food styling for photos?
The Art of Visual Appeal: Prepping for the Perfect Shot
Creating mouth-watering food photos isn’t just about good lighting or a fancy camera; it’s fundamentally about how the food itself is prepared. Every step, from ingredient selection to the final touches, plays a critical role in how a dish will appear on screen. Thoughtful recipe prep can transform a tasty meal into a feast for the eyes, making viewers crave what they see.
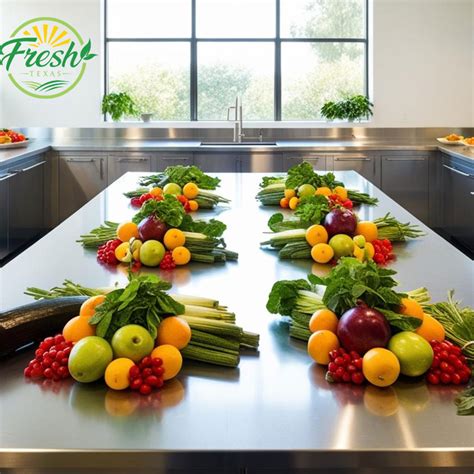
Ingredient Selection and Pre-Treatment
The journey to a stunning food photo starts at the grocery store. Opt for the freshest, most vibrant ingredients available. Look for unblemished fruits and vegetables with rich, natural colors. For meats, choose cuts with good marbling and consistent color. Before cooking, meticulous cleaning and preparation are key. Wash produce thoroughly, remove any imperfections, and ensure uniform cuts for consistency, which is vital for a balanced composition.
Blanching certain vegetables like green beans or broccoli for just a minute can enhance their color and retain a crisp texture, preventing them from looking dull or overcooked under lights. Similarly, patting ingredients dry before searing ensures a beautiful crust and prevents steaming.
Precision in Cooking Methods
Cooking methods directly impact texture and color, both paramount for food styling. Avoid overcooking at all costs; mushy or browned-out elements are visual deterrents. Aim for al dente pasta, perfectly seared meats with a golden crust, and vegetables that retain their vibrant hues and slight firmness.
When frying, ensure a consistent, even crispness. For baked goods, achieving a golden-brown finish without burning requires careful temperature management and timing. Sometimes, undercooking slightly is preferable for photos, as it allows ingredients to hold their shape better and maintain their fresh appearance longer under styling lights.
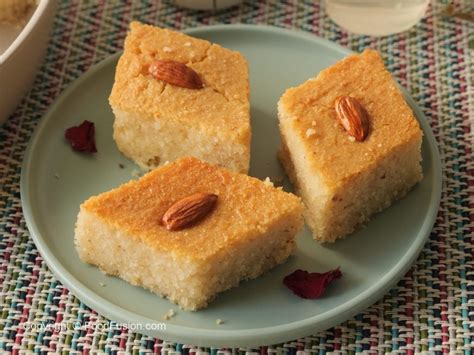
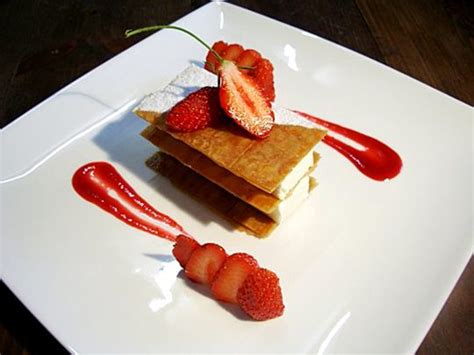
Strategic Plating and Assembly
How a dish is assembled on the plate dramatically affects its photographic appeal. Think about height, texture, and color contrast. Build dishes from the ground up, placing larger, more stable components first, then layering with smaller elements. Create visual interest by adding varying textures – a creamy sauce next to a crisp garnish, for example.
Don’t overcrowd the plate; leave some negative space to allow each component to breathe and stand out. Consider the ‘rule of odds’ by arranging elements in odd numbers, which is often more aesthetically pleasing. Using tweezers can help place delicate items with precision.
Garnishes and Finishing Touches
Garnishes are not just an afterthought; they are crucial prep steps that elevate a dish for photography. Fresh herbs, a sprinkle of spices, a drizzle of olive oil, or a dusting of powdered sugar can add brightness, contrast, and a sense of freshness. Always choose garnishes that complement the dish’s flavors and colors.
Strategic placement of sauces or dressings can add a dynamic element to the plate, whether it’s a controlled drizzle, a artistic swirl, or a purposeful pool. Edible flowers or citrus zests can introduce pops of color and elegance, transforming a simple meal into a gourmet presentation.
Temperature and Texture Management Post-Cook
Once cooked, managing the dish’s temperature and texture is important before the photo shoot. For hot dishes, have everything ready to plate immediately to capture steam or a glistening finish, but be mindful that some dishes look better after cooling slightly, as sauces might thicken, or greens might wilt less quickly. Conversely, cold dishes like salads or desserts benefit from being chilled right up until the moment of plating to maintain their crispness and structure.
Sometimes, a quick blast with a kitchen torch can revive a sheen or crisp up an edge just before the shot. Having a small spray bottle with water or oil can help keep ingredients looking dewy and fresh under studio lights.
The Final Checklist Before Shooting
Before the camera comes out, do a final visual check. Wipe any smudges or spills from the plate edges. Remove stray crumbs or unwanted droplets. Ensure all elements look their best – no wilting greens, no dull spots, no dry edges. A little gloss with a brush of oil or water can work wonders. Remember, the goal is to make the food look as appetizing as possible, and these meticulous prep steps are the secret ingredients to achieving that professional, drool-worthy photograph.


