What’s the best way to store leafy greens for maximum freshness & visual appeal?

The Science Behind Fresh Leafy Greens
Leafy greens are packed with nutrients and can elevate any meal, but their short shelf life often leads to food waste. The key to preserving their vibrancy and nutritional value lies in understanding what makes them spoil. Greens naturally release ethylene gas and lose moisture, leading to wilting, yellowing, and eventual decay. Proper storage aims to slow down these processes, keeping them crisp, green, and ready for use.
By mastering a few simple techniques, you can extend the life of your produce, save money, and ensure that every salad and sauté is made with the freshest ingredients possible. No more soggy spinach or limp lettuce!

Common Pitfalls in Green Storage
Many people inadvertently contribute to the early demise of their greens. One of the most common mistakes is storing them unwashed and still damp in their original flimsy packaging. Excess moisture trapped in plastic bags creates a breeding ground for bacteria and speeds up decomposition. Conversely, not enough moisture can lead to dehydration and wilting.
Another pitfall is cramming greens into a crowded refrigerator drawer. Proper air circulation is crucial, and bruised leaves from overcrowding are more susceptible to spoilage. Understanding these common errors is the first step towards rectifying them and adopting more effective storage methods.
The Ultimate Guide to Maximizing Freshness
Achieving maximum freshness for your leafy greens involves a multi-step approach that addresses moisture, air, and temperature. Here’s a detailed breakdown of the best practices:
1. Wash Thoroughly, But Strategically
While some sources suggest washing right before use, washing greens when you bring them home can be beneficial if done correctly. Rinse them under cool running water, or dunk them in a bowl of cold water to remove dirt and debris. This also helps to rehydrate slightly.
2. Dry, Dry, Dry!
This is arguably the most critical step. Any residual moisture will accelerate spoilage. Use a salad spinner to remove as much water as possible. For delicate greens or if you don’t have a spinner, gently pat them dry with a clean kitchen towel or paper towels. They must be as dry as possible to prevent mold and rot.

3. Wrap and Store Appropriately
Once thoroughly dry, you have a few excellent options for storage:
- Paper Towel Method: Line an airtight container or a large Ziploc bag with dry paper towels. Place the clean, dry greens on top, and then cover them with another layer of paper towels. The paper towels absorb excess moisture, maintaining an ideal humidity level.
- Glass Container Method: For a more eco-friendly option, use large glass containers. Layer dry greens with paper towels, ensuring the lid is sealed tightly.
- Plastic Bag (Properly Used): If using a plastic bag, ensure it’s a sturdy, resealable one. Place the dry greens inside with a few pieces of paper towel, and inflate the bag slightly before sealing (don’t vacuum seal) to provide some cushioning and air circulation.
4. Refrigerate in the Crisper Drawer
The crisper drawer of your refrigerator is designed to maintain a higher humidity level than the rest of the fridge, which is ideal for most produce. Store your carefully wrapped greens in the crisper drawer, set to a high humidity setting if your fridge allows. Avoid storing greens near fruits that produce high levels of ethylene gas, like apples, bananas, or tomatoes, as this can speed up ripening and spoilage.
Tailoring Storage for Different Greens
While the general principles apply, some greens benefit from slight variations:
- Sturdy Greens (Kale, Collards, Swiss Chard): These can tolerate a bit more moisture. Wash, dry thoroughly, and wrap in a damp paper towel before placing in a sealed bag or container. They can last up to 1-2 weeks.
- Delicate Lettuces (Butter Lettuce, Mixed Greens): Handle gently. Wash, spin dry very well, and store with dry paper towels in an airtight container. Aim to use within 5-7 days.
- Spinach and Arugula: These are notorious for spoiling quickly. Wash and dry meticulously. Store in an airtight container lined with dry paper towels. Use within 3-5 days for best results.
- Herbs (Parsley, Cilantro, Dill): For maximum freshness and visual appeal, treat them like a bouquet of flowers. Trim the ends, place them in a glass of water, and cover loosely with a plastic bag. Change the water every day or two. Store in the fridge.

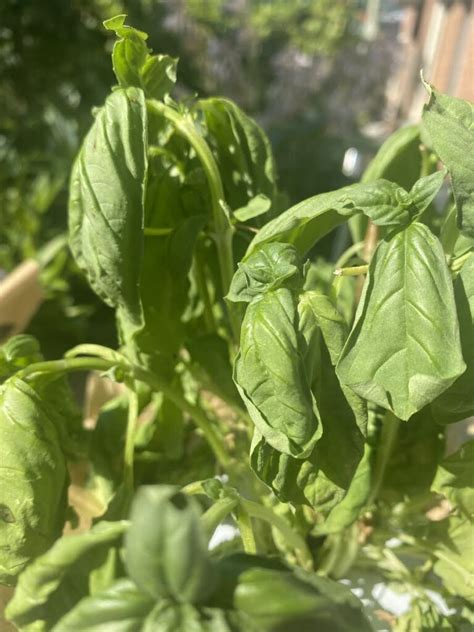
Bringing Wilted Greens Back to Life
Don’t despair if your greens look a bit limp! Often, a quick ice bath can revive them. Submerge wilted greens in a bowl of very cold water (add ice cubes) for 15-30 minutes. The cold water helps rehydrate the cells, often bringing back their crispness. This works best for greens that are merely dehydrated, not those that have started to rot or yellow significantly.
Enjoying Your Greens Longer
By implementing these simple yet effective storage strategies, you’ll not only extend the shelf life of your leafy greens but also maintain their vibrant color, crisp texture, and nutritional integrity. This means fewer trips to the grocery store, less food waste, and more delicious, healthy meals right at your fingertips. Invest a few minutes in proper storage, and reap the rewards of fresh, appealing greens all week long.